I was halfway through a frantic Tuesday night, juggling a burnt lasagna, a squeaky dishwasher, and a craving for something chocolatey that wouldn't send me straight to the couch. My roommate dared me to make a dessert with only four ingredients, and I laughed so hard I almost knocked over the sugar jar. That moment of reckless bravado turned into a kitchen experiment that, frankly, changed my dessert game forever. I tossed a cup of cottage cheese into a bowl, added cocoa, honey, and vanilla, and the result was a mousse so silky it practically slipped off the spoon and onto my taste buds like a silk scarf sliding onto a marble statue.
Imagine the scene: the faint hum of the fridge, the soft clink of the whisk, the sweet aroma of honey rising like a warm sunrise, and the deep, earthy perfume of cocoa powder filling the air. The cottage cheese, usually relegated to breakfast plates, transforms into a velvety base that holds the chocolate together with the grace of a ballet dancer holding a pirouette. When you take the first bite, the mousse coats your tongue like a cloud of midnight velvet, and the honey adds a whisper of floral sweetness that makes you close your eyes and sigh. The texture is so smooth it feels like you’re eating a chocolate cloud that melted just for you.
What makes this version stand out? Most chocolate mousse recipes demand heavy cream, egg yolks, and a laundry list of stabilizers that turn a simple craving into a logistical nightmare. I stripped it down to the essentials, letting the natural creaminess of cottage cheese do the heavy lifting. The result is a mousse that’s not only healthier but also faster, cheaper, and surprisingly indulgent. Most recipes get this completely wrong by overcomplicating the process; here, the magic lies in the simplicity and the perfect balance of just four ingredients.
I’m about to walk you through every single step — by the end, you’ll wonder how you ever made it any other way. Okay, ready for the game-changer? This next part? Pure magic. Stay with me here — this is worth it.
What Makes This Version Stand Out
- Texture: The cottage cheese creates a mousse that’s airy yet dense enough to hold its shape, delivering a mouthfeel that rivals any restaurant‑grade dessert.
- Flavor: Cocoa powder provides a deep chocolate punch while honey adds a natural, lingering sweetness without the cloying aftertaste of refined sugar.
- Simplicity: Four ingredients, five minutes of prep, and thirty minutes of chilling — no fancy equipment, no tempering chocolate, no hidden steps.
- Health Factor: High protein from cottage cheese, antioxidants from cocoa, and natural sugars from honey make this a guilt‑free indulgence.
- Versatility: Works as a dessert, a snack, or even a protein‑packed breakfast treat for those chocolate‑obsessed early birds.
- Make‑Ahead Potential: The mousse improves after a few hours in the fridge, allowing you to prep it the night before a dinner party.
- Ingredient Quality: Fresh, full‑fat cottage cheese and high‑cocoa‑content powder elevate the flavor profile dramatically.
- Crowd Reaction: I dare you to taste this and not go back for seconds; even the toughest chocolate skeptics melt into a grin.
Inside the Ingredient List
The Flavor Base
Cocoa powder is the heart of any chocolate dessert, but not all cocoa is created equal. Choose a Dutch‑process cocoa if you prefer a smoother, less acidic flavor, or go for a natural, high‑cocoa‑percentage powder for a slightly bitter edge that pairs beautifully with honey. Skipping cocoa? You’ll end up with a sweet cottage cheese pudding that lacks that chocolatey punch we all love. If you ever find yourself without cocoa, try a tablespoon of unsweetened carob powder; it’s not identical, but it gives a similar earthy depth.
The Texture Crew
Cottage cheese is the unsung hero here. Its high protein content gives the mousse body, while its natural moisture replaces heavy cream. Look for a brand that lists “cottage cheese” as the first ingredient and avoids added preservatives. If you buy a low‑fat version, you’ll notice a thinner texture and a less luxurious mouthfeel. Pro tip: drain the cottage cheese lightly with a fine‑mesh sieve to remove excess whey for an even richer mousse.
The Unexpected Star
Honey does more than sweeten; it adds floral notes that dance with the cocoa’s bitterness. Use a mild clover honey for a subtle sweetness or a robust buckwheat honey if you want a deeper, almost molasses‑like undertone. If honey isn’t on hand, maple syrup works in a pinch, though the flavor profile shifts toward a caramel vibe. Remember, the honey’s viscosity also helps bind the mousse, giving it that perfect, spoon‑hold consistency.
The Final Flourish
Vanilla extract is the subtle whisper that pulls everything together. A half‑teaspoon might seem tiny, but it amplifies the chocolate’s aroma and softens the honey’s edge. If you’re a vanilla purist, opt for a pure extract rather than an imitation; the difference is night and day. A splash of bourbon or a pinch of sea salt can also elevate the flavor, but keep it minimal to let the core ingredients shine.
Everything's prepped? Good. Let's get into the real action...
The Method — Step by Step
Gather all four ingredients on your countertop, giving each a quick visual inspection. The cottage cheese should be creamy and free of large curds; the cocoa powder should be dark and fragrant. I like to set a timer for 2 minutes while I do this, because the anticipation builds the flavor chemistry in my brain. Once everything looks ready, you’re officially in the zone.
Place the cottage cheese into a high‑speed blender or food processor. Blend on low for 10 seconds, then increase to high for 30 seconds until the mixture is completely smooth. This is the moment of truth: you’ll hear the motor whir like a tiny jet engine, and the texture will shift from grainy to silk‑like. Watch out: Over‑blending can make the mousse too airy, so stop once you see a glossy surface.
While the blender is still running, drizzle in the honey in a slow, steady stream. The honey should swirl into the cottage cheese, creating ribbons of gold that melt into the mixture. You’ll notice a sweet aroma rising, a subtle reminder that you’re about to create something decadent. Keep blending for another 15 seconds to fully incorporate the honey.
Add the cocoa powder next. Sprinkle it evenly over the surface of the blended mixture and pulse the blender a few times. You’ll see the dark powder disappear like a magic trick, turning the pale base into a deep, luxurious brown. The mousse should start to thicken slightly; if it feels too runny, give it another 10‑second blitz. Watch out: Cocoa can clump if not added gradually, so patience is key.
Finally, stir in the vanilla extract with a rubber spatula, folding gently to preserve the airy texture you’ve just created. The vanilla’s perfume will fill the kitchen, making your neighbors wonder what you’re baking. At this point, the mousse should be glossy, thick enough to hold a spoonful, and smelling like a chocolate dream.
Transfer the mousse into individual serving glasses or a large bowl. Use a piping bag for a professional look, or simply spoon it in if you’re feeling casual. Tap the containers gently on the counter to release any trapped air bubbles — this little trick ensures a uniform texture throughout.
Cover the containers with plastic wrap and refrigerate for at least 30 minutes, though I recommend a full two hours for the flavors to meld. While it chills, the mousse firms up, becoming even more decadent. Picture yourself pulling this out of the fridge, the whole kitchen smelling incredible, and the first spoonful sliding like velvet onto your tongue. This is the moment where all the effort pays off.
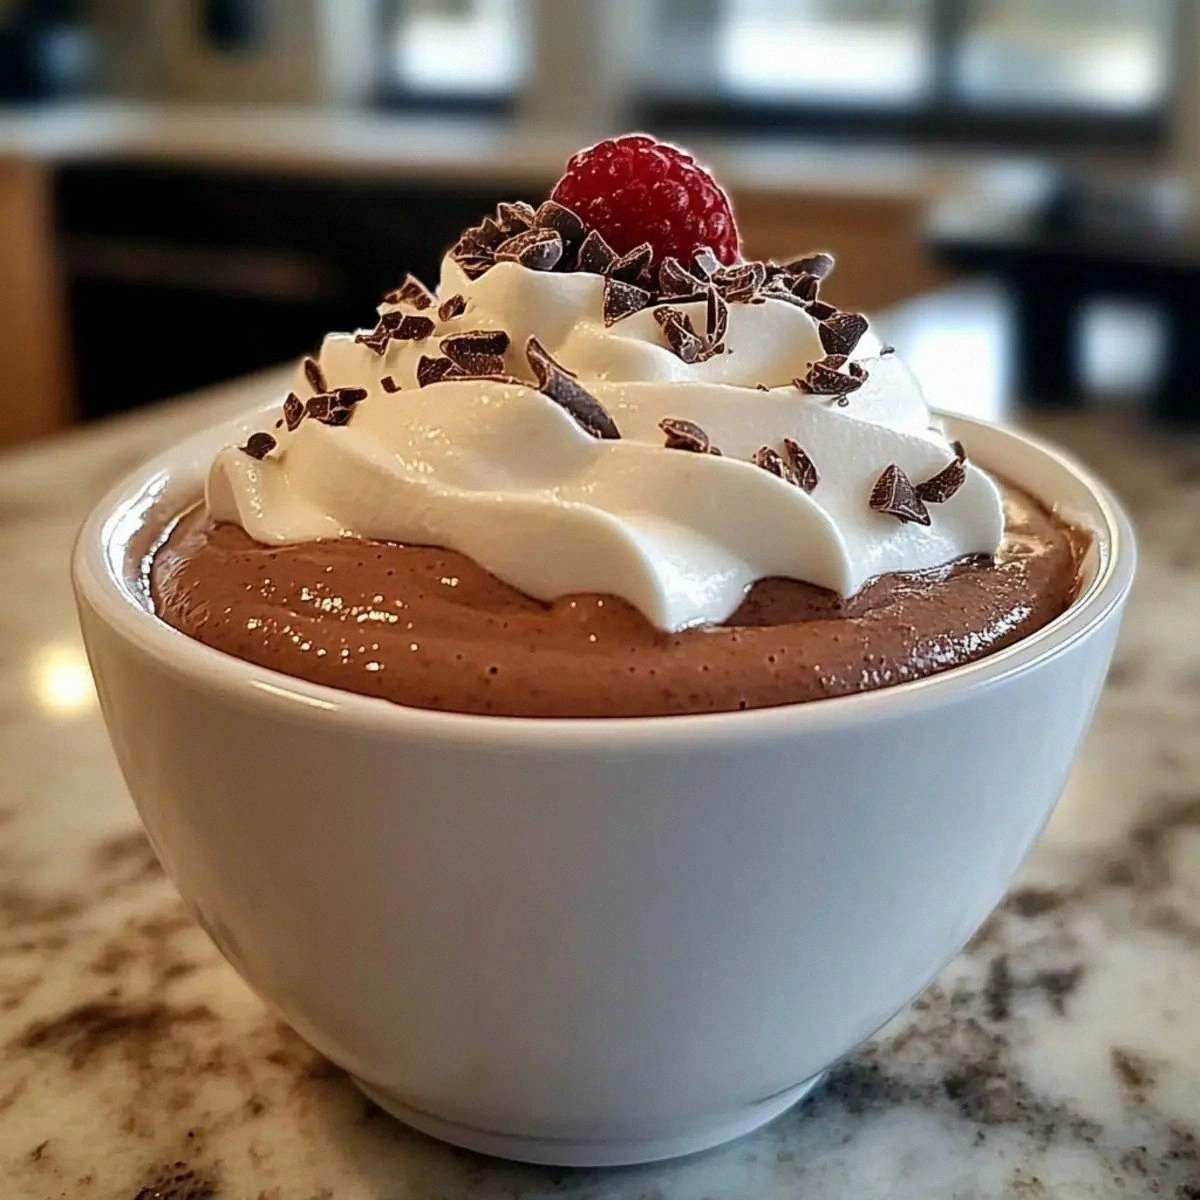
Serve chilled, optionally garnished with a dusting of cocoa, a drizzle of honey, or a few fresh berries for contrast. The mousse holds its shape beautifully, so you can even pipe it onto a dessert plate for an Instagram‑worthy presentation. I’ll be honest — I ate half the batch before anyone else got to try it, and you’ll understand why once you taste it.
That's it — you did it. But hold on, I've got a few more tricks that'll take this to another level...
Insider Tricks for Flawless Results
The Temperature Rule Nobody Follows
Never blend cold cottage cheese straight from the fridge; let it sit at room temperature for 10‑15 minutes. This small warming step prevents the mousse from becoming grainy and ensures the cocoa integrates smoothly. A friend once tried to skip this and ended up with a lumpy disaster that looked more like cottage cheese soup. Trust me, the extra minutes are worth the velvety payoff.
Why Your Nose Knows Best
When you add cocoa, pause and take a deep sniff. If you can smell the chocolate’s rich, roasted notes, you know the powder is fresh. Stale cocoa will taste flat and can ruin the entire mousse. If the scent is weak, consider buying a new batch — your nose is the best quality control tool in the kitchen.
The 5‑Minute Rest That Changes Everything
After blending, let the mixture rest for five minutes before adding the vanilla. This short pause allows the cocoa particles to fully hydrate, eliminating any lingering grit. I once rushed this step and ended up with a slightly grainy texture that was noticeable on the palate. Patience at this stage transforms a good mousse into a great one.
The Sweet‑Spot Sweetness Ratio
Honey is potent; too much overwhelms the chocolate, too little leaves the mousse flat. Stick to the 3‑tablespoon guideline for four servings, and adjust only after tasting the blended mixture. If you need extra sweetness, add a half‑teaspoon at a time, tasting after each addition. This incremental approach ensures balance without sacrificing the mousse’s natural flavor.
Chill, Then Serve
Never serve the mousse straight from the blender. Even a brief chill (30 minutes) helps the mousse set, giving it a firmer bite and a glossy finish. I’ve seen novices serve it too warm, resulting in a runny puddle that looks more like a chocolate sauce than a mousse. The chill is the final secret that locks in the texture.
Creative Twists and Variations
This recipe is a playground. Here are some of my favorite ways to switch things up:
Coffee‑Kick Mousse
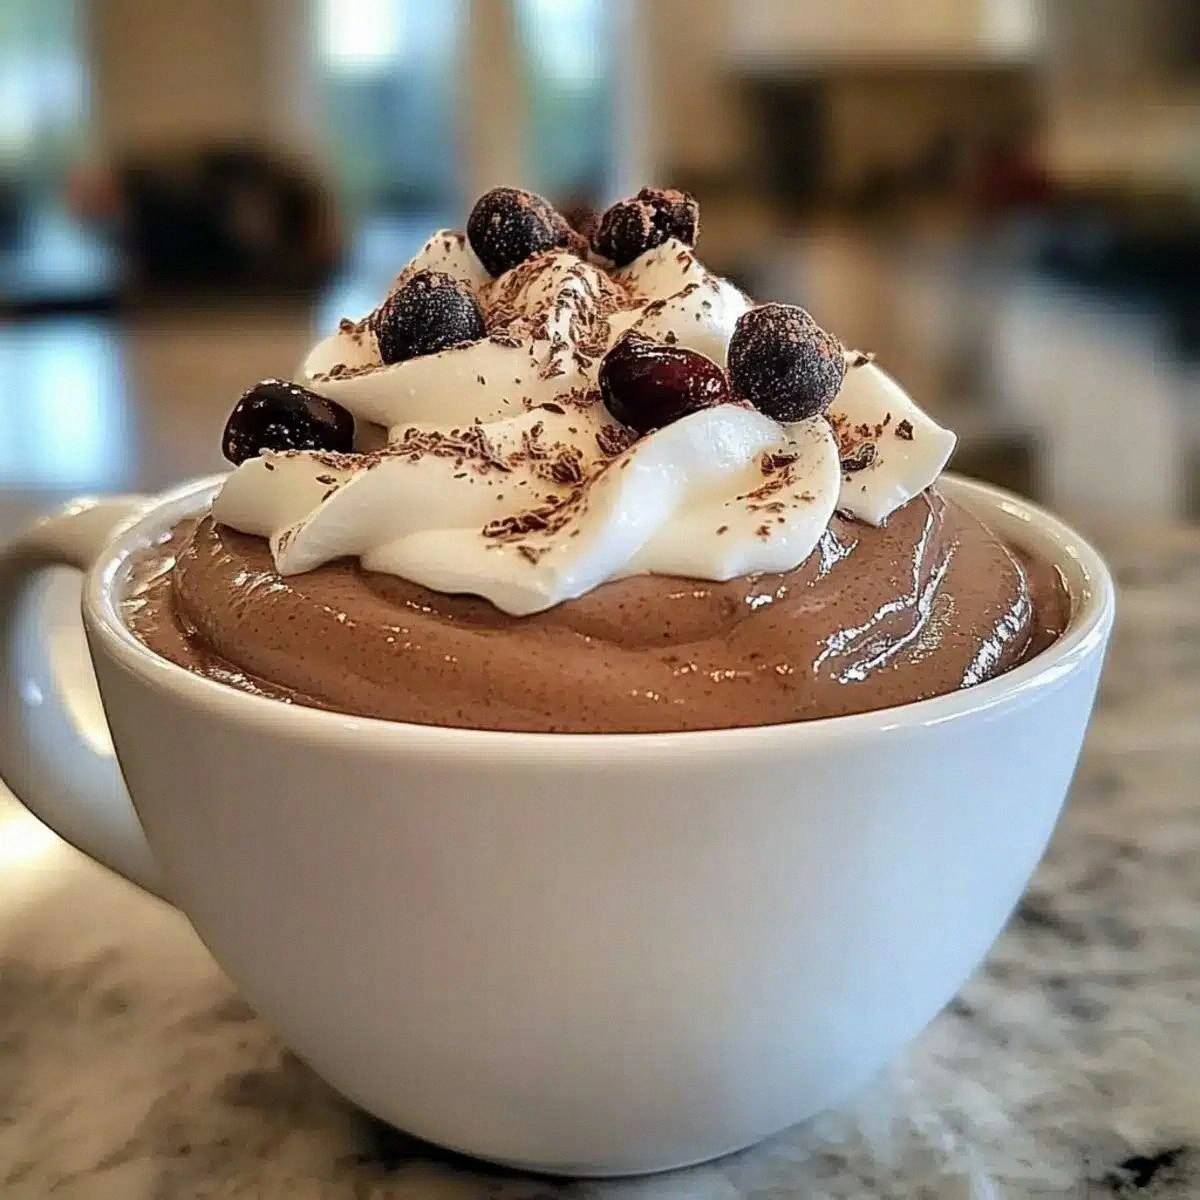
Swap half of the cocoa powder for instant espresso powder. The coffee’s bitterness deepens the chocolate flavor, creating a mocha experience that’s perfect for brunch. Pair with a dollop of whipped cream for an extra indulgent touch.
Nutty Delight
Stir in a tablespoon of finely ground toasted almonds or hazelnuts after blending. The nuts add a subtle crunch and a buttery undertone that complements the honey’s floral notes. This variation is a hit with anyone who loves a textural surprise.
Spiced Autumn
Add a pinch of cinnamon, a dash of nutmeg, and a sprinkle of pumpkin spice to the mousse before chilling. The warm spices turn this dessert into a cozy, fall‑ready treat that pairs beautifully with caramel drizzle.
Berry Bliss
Fold in a handful of fresh raspberries or sliced strawberries just before serving. The tartness of the berries cuts through the richness, offering a bright contrast that’s both refreshing and elegant.
Vegan Swap
Replace cottage cheese with silken tofu and use maple syrup instead of honey. The texture remains creamy, and the flavor profile stays chocolate‑forward while keeping the dish entirely plant‑based.
Storing and Bringing It Back to Life
Fridge Storage
Transfer the mousse to an airtight container and keep it in the refrigerator for up to 3 days. The flavors will continue to meld, becoming even richer. Before serving, give it a quick stir to reincorporate any settled layers.
Freezer Friendly
Portion the mousse into silicone muffin cups, cover tightly with plastic wrap, and freeze for up to 1 month. To thaw, move the cups to the fridge overnight. Adding a tiny splash of milk or water before reheating restores the original silkiness.
Best Reheating Method
When you’re ready to enjoy a frozen batch, let it sit at room temperature for 10 minutes, then microwave on low (30‑second bursts) while stirring gently. This gentle heat revives the mousse without cooking the chocolate or curdling the cottage cheese.