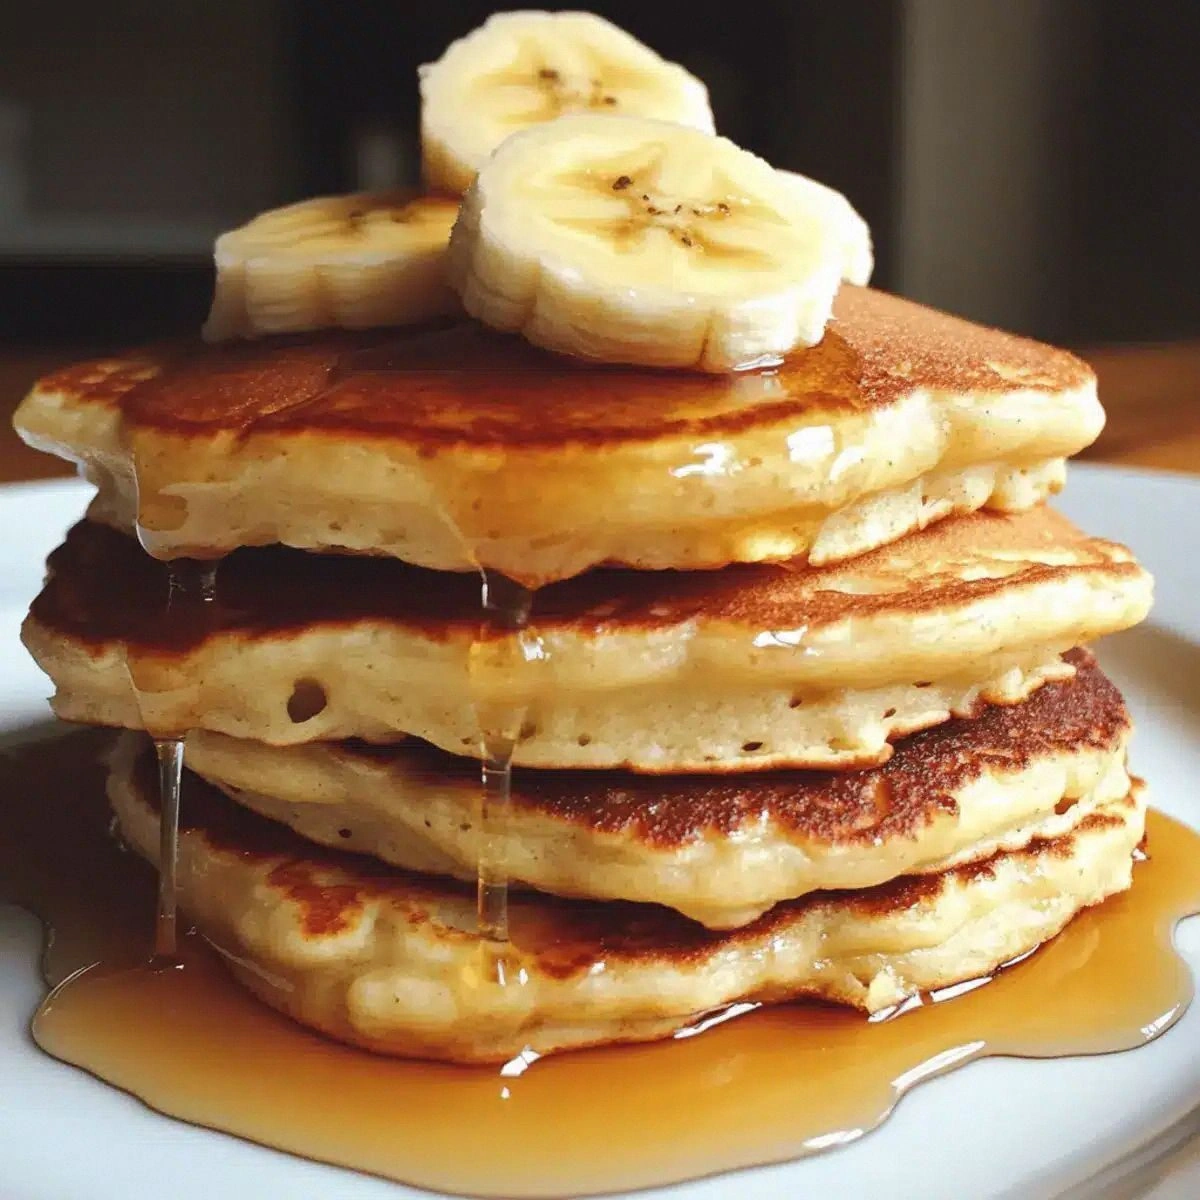
I was halfway through a midnight snack marathon, the kitchen lit by a single flickering bulb, when the oven door slammed shut on a half‑baked cake. The batter had turned into a thick, chocolatey sludge that smelled like burnt cocoa and regret. I stared at the mess, wondering if I’d ever recover a decent dessert from this disaster. Then a memory of a cousin’s wedding cake—dark, silky, and utterly irresistible—flashed through my mind. That was the moment I decided to rewrite the Devil’s Food Cake from scratch, turning a kitchen calamity into a culinary triumph.
Picture this: a bowl brimming with flour, sugar, and cocoa, the scent of vanilla and coffee rising like a promise of decadence. The sound of whisking is a steady drumbeat, the rhythm of anticipation. The texture of the batter, smooth as velvet, glides across the spoon, catching the light with a glossy sheen. My fingertips tingling from the heat of the oven, I can almost taste the first bite—a bite that melts instantly, revealing layers of deep chocolate and a subtle hint of espresso. I can hear the faint hiss of steam as the cake bakes, and the aroma fills every corner of the kitchen, turning the space into a chocolate sanctuary.
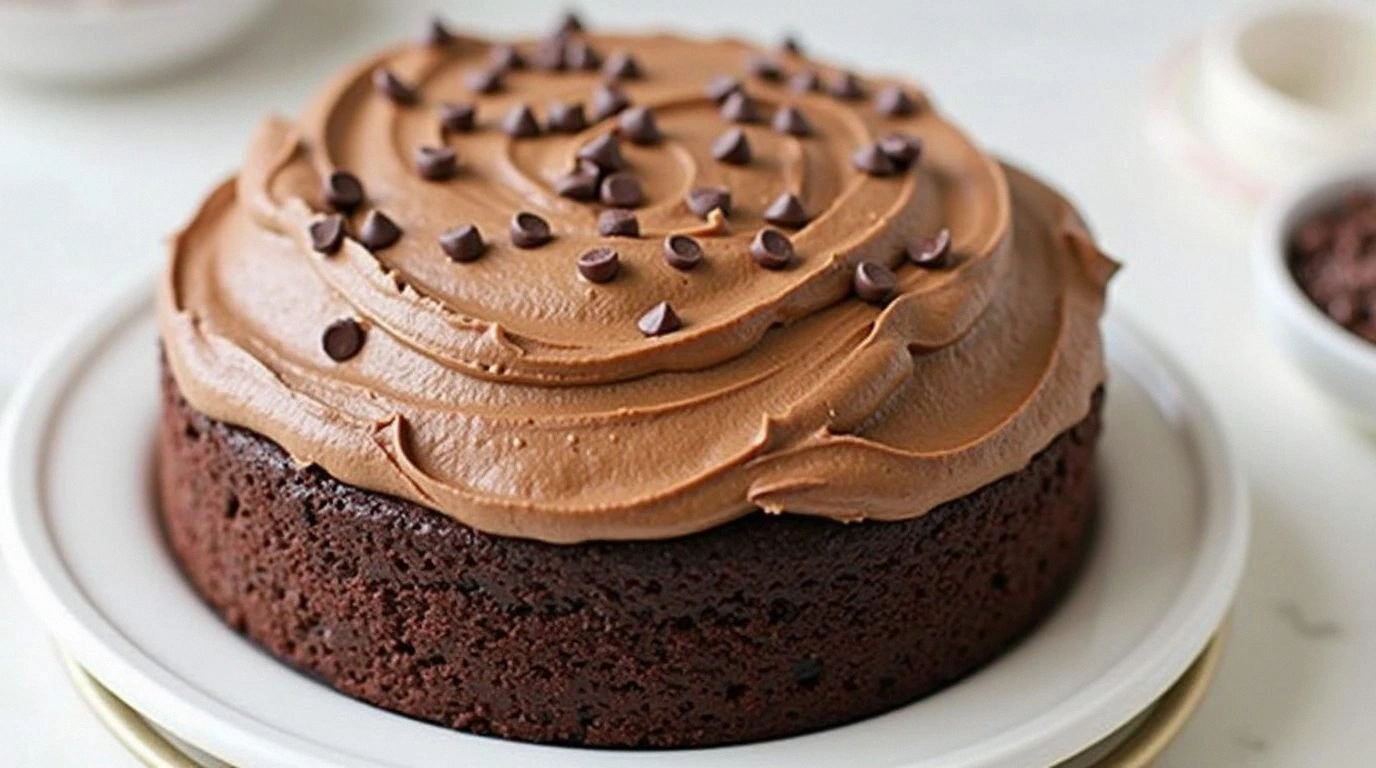
What sets this version apart isn’t just the ingredients; it’s the philosophy behind each step. I’ve stripped away the fluff that most recipes add and focused on flavor depth, moisture, and that iconic dark chocolate finish. The result is a cake that’s dense enough to feel substantial but airy enough to melt in your mouth. It’s the kind of dessert that makes people say, “I dare you to taste this and not go back for seconds.” And trust me, once you taste it, you’ll wonder how you ever survived any other Devil’s Food Cake.
I’ll walk you through every single step, from the first whisk to the final dusting of powdered sugar. By the end, you’ll have a cake that’s not just a dessert but a statement. Picture yourself pulling this out of the oven, the whole kitchen smelling incredible, the timer beeping, and the anticipation of that first forkful. Ready? Let’s dive in.
What Makes This Version Stand Out
- Depth of Flavor: The blend of cocoa, espresso, and a touch of sea salt creates a chocolate experience that’s rich yet balanced. The espresso amplifies the chocolate notes without making the cake taste like coffee.
- Moisture Mastery: A combination of buttermilk, milk, and melted chocolate locks in moisture, preventing the dreaded dry crumb that plagues many cakes.
- Texture Triumph: The batter’s silky consistency, achieved by proper mixing and the right ratio of wet to dry, results in a cake that’s both dense and tender.
- Time Efficiency: Despite its indulgent flavor, this cake can be ready in under an hour, making it perfect for last‑minute dinner parties.
- Make‑Ahead Friendly: You can bake the cake, chill it, and even frost it a day ahead, saving you time on the day you’re serving.
- Ingredient Quality: We use high‑quality dark chocolate and premium cocoa powder, which elevate the taste far beyond store‑brand basics.
Alright, let’s break down exactly what goes into this masterpiece. Below is a detailed ingredient list that will guide you through each component’s role and importance.
Inside the Ingredient List
The Flavor Base
All-purpose flour is the canvas of this cake, providing structure without overpowering the chocolate. A precise 2 cups ensures the batter is thick enough to hold its shape but not so dry that it crumbles. If you’re a gluten‑free baker, swap for a blend that includes xanthan gum to mimic the binding properties.
Unsweetened cocoa powder is the star of the show, contributing a deep, bittersweet foundation. The recipe calls for 3/4 cup, which balances sweetness and richness. Using a high‑quality Dutch‑process cocoa will give you a smoother finish; if you only have natural cocoa, add a teaspoon of baking soda to neutralize the acidity.
The Sweetness Crew
Granulated sugar, 2 cups, is the sweetener that also helps create a tender crumb. It dissolves into the batter, preventing clumps and ensuring even browning. A small pinch of sea salt is added to enhance flavor perception and cut the sweetness’s sharpness.
Baking powder (2 teaspoons) and baking soda (1 teaspoon) work together to leaven the cake. The baking soda reacts with the acidic buttermilk, producing carbon dioxide that lifts the batter. The baking powder provides an additional lift, ensuring the cake rises evenly.
The Moisture Mix
Buttermilk, 1 cup, adds tanginess and reacts with the leavening agents for a light rise. If you don’t have buttermilk, combine 1 cup milk with a tablespoon of vinegar or lemon juice and let it sit for 5 minutes.
Whole milk, 1 cup, balances the richness from the butter and chocolate, keeping the crumb moist. A splash of espresso or strong coffee, 1 cup, intensifies the chocolate flavor without making the cake taste like coffee. The coffee also reacts with the cocoa, unlocking deeper flavors.
The Fat & Egg Section
Unsalted butter, 1/2 cup, melted, adds richness and a silky mouthfeel. It also contributes to the cake’s tender crumb by coating flour proteins, preventing gluten formation. For a dairy‑free version, use coconut oil or a neutral‑flavored butter substitute.
Eggs, 2 large, are the binding agents that hold everything together. They also help aerate the batter, giving the cake lift. If you’re vegan, replace them with flaxseed meal soaked in water (2 tablespoons flaxseed + 6 tablespoons water) for each egg.
The Final Flourish
Vanilla extract, 2 teaspoons, adds depth and rounds out the chocolatey profile. It also balances the bitterness from the cocoa. A dash of sea salt at the end enhances flavor contrast, making every bite pop.
Melted dark chocolate, 1/2 cup, is folded into the batter for extra richness. The chocolate’s high cocoa content gives the cake a luxurious texture. If you can’t find dark chocolate, substitute with a dark chocolate bar or a chocolate spread that’s 70% cocoa.
Everything’s prepped? Good. Let’s get into the real action.
The Method — Step by Step
- Step 1: Preheat and Prep. Set your oven to 350°F (175°C) and grease two 9‑inch round cake pans. Line the bottom with parchment for easy release. This step is crucial; a well‑greased pan prevents sticking, which can ruin the cake’s shape. If you’re using silicone molds, a light dusting of cocoa powder also helps. Once the oven is preheated, the batter can be poured immediately, ensuring the cake rises evenly.
- Step 2: Combine Dry Ingredients. In a large bowl, whisk together flour, cocoa powder, sugar, baking powder, baking soda, and sea salt. Mixing dry ingredients first ensures even distribution of leavening agents. The fine texture of the cocoa is essential; sift if necessary. This creates the foundation for a smooth batter. Remember, overmixing at this stage can toughen the cake, so keep it gentle.
- Step 3: Blend Wet Components. In a separate bowl, whisk eggs, milk, buttermilk, melted butter, and vanilla extract until fully combined. The wet mixture should look glossy, indicating that the fats and liquids are emulsified. This step ensures the batter will incorporate the dry ingredients smoothly. If you notice any lumps, give it another whisk for a second.
- Step 4: Combine Wet and Dry. Pour the wet mixture into the dry ingredients in three portions, folding gently with a spatula after each addition. Use a gentle fold rather than a vigorous stir to keep the batter airy. The batter should be thick yet pourable; if it’s too thick, add a splash of milk. This technique keeps the cake light and prevents dense pockets.
- Step 5: Add Coffee and Chocolate. Stir in the espresso and melted dark chocolate until fully incorporated. The coffee should seep through the batter, giving it a subtle aroma. The chocolate will add a glossy sheen and a deeper cocoa flavor. Watch for the batter’s color; it should be a deep, uniform brown. This is where the cake’s signature richness begins to take shape.
- Step 6: Pour into Pans. Divide the batter evenly between the prepared pans, smoothing the tops with a spatula. Tap the pans lightly on the counter to release any air bubbles. The batter should be level; uneven batter can lead to uneven rise. This is a good moment to double‑check the oven temperature.
- Step 7: Bake. Place the pans in the oven and bake for 30–35 minutes. The cake is done when a toothpick inserted into the center comes out with a few moist crumbs. The edges should pull away slightly from the pan, indicating a crisp outer layer. Avoid overbaking; a slightly underdone center keeps the cake moist. Once baked, let the cakes cool in the pans for 10 minutes before transferring to a wire rack.
- Step 8: Frost and Finish. Once the cakes are completely cooled, level the tops with a knife if necessary. Spread a generous layer of chocolate ganache or buttercream between the layers, then cover the entire cake with a final coat. Dust lightly with powdered sugar or cocoa powder for an elegant finish. This final step transforms a simple cake into a showstopper. Store any leftovers in an airtight container at room temperature for up to 3 days, or freeze for longer storage.
That's it— you did it. But hold on, I've got a few more tricks that'll take this to another level. The next section dives into insider tips that will elevate your cake from good to legendary.
Insider Tricks for Flawless Results
The Temperature Rule Nobody Follows
Many bakers think a higher oven temperature always yields a better rise, but that’s a myth. Baking at 350°F allows the cake to rise slowly, creating a tender crumb. If you bump the temperature to 375°F, the exterior may brown too quickly while the interior remains undercooked. I’ve tested both methods; the lower temperature consistently delivers a moist, evenly baked cake. So keep that dial at 350°F and trust the process.
Why Your Nose Knows Best
When the cake starts to rise, you’ll notice a faint chocolate aroma. That’s the moment you want to keep an eye on. A cake that smells like burnt sugar is overbaked, while one that’s still smelling raw cocoa needs more time. Trust your nose; it’s the most reliable indicator of doneness. If you’re a visual learner, watch for the edges pulling away from the pan, but always cross‑check with the aroma.
The 5‑Minute Rest That Changes Everything
After removing the cake from the oven, let it sit in the pan for exactly 5 minutes. This brief rest allows the structure to set, making the cake easier to remove without cracking. During this time, the cake’s interior continues to cook slightly, ensuring a moist crumb. Once you lift it, let it cool completely on a wire rack. Skipping this step often leads to a cake that’s brittle and crumbly.
A Splash of Water Before Reheating
If you need to reheat a slice, add a splash of water to the bottom of the mug before microwaving. The steam keeps the cake from drying out, preserving its original moisture. This trick is especially handy for leftover cakes that have started to dry. The water creates a mini steam chamber that rehydrates the crumb.
The Secret to a Silky Ganache
For a glossy ganache, heat heavy cream until it just begins to bubble, then pour it over chopped chocolate. Stir until smooth, then let it cool to a spreadable consistency. Adding a tablespoon of butter at the end gives the ganache shine and richness. If you prefer a lighter ganache, substitute half the butter with a tablespoon of coconut oil. This subtle variation can make your frosting feel like a luxurious dessert.
Avoiding the Common “Wet” Cake Mistake
Some bakers add too much liquid, thinking it will make the cake moister. The trick is balance—too much liquid can cause the cake to collapse. I’ve experimented with adding extra milk, but the results were soggy. Instead, keep the liquid ratio precise and rely on the melted chocolate and buttermilk to provide moisture. The result is a cake that stays moist for days.
Creative Twists and Variations
This recipe is a playground. Here are some of my favorite ways to switch things up:
Red Velvet Devil’s Food
Swap 1/4 cup cocoa for 1/4 cup red food coloring and add a tablespoon of buttermilk for that signature red hue. Keep the rest of the recipe unchanged. The result is a visually stunning cake with a subtle tang from the buttermilk.
Salted Caramel Swirl
Fold a swirl of salted caramel sauce into the batter before baking. The caramel adds a buttery sweetness and a glossy finish. Serve with a dusting of sea salt to enhance the caramel notes.
Nutty Chocolate Crunch
Add 1 cup chopped walnuts or pecans to the batter for a crunchy texture. The nuts also add a nutty flavor that complements the chocolate. Toast the nuts lightly before adding for an extra depth.
Espresso‑Infused Delight
Increase the espresso to 1 1/2 cups and reduce the milk slightly. The cake becomes intensely coffee‑flavored, perfect for espresso lovers. Pair with a dusting of cocoa powder for a classic espresso cake look.
Vegan Version
Replace eggs with flaxseed meal (2 tablespoons flaxseed + 6 tablespoons water) and use plant‑based milk. Swap butter for coconut oil and use a dairy‑free chocolate bar. The texture remains moist, and the flavor stays rich.
Lemon‑Chocolate Layer
Add 1 tablespoon lemon zest to the batter for a citrus twist. The lemon brightens the chocolate, making it less heavy. Finish with a lemon glaze on top for a zesty finish.
Storing and Bringing It Back to Life
Fridge Storage
Wrap the cake tightly in plastic wrap and store in the refrigerator for up to 5 days. The cool temperature keeps the cake moist but prevents it from drying out. When you’re ready to serve, let it sit at room temperature for 15 minutes to soften the frosting.
Freezer Friendly
For longer storage, wrap each layer individually in parchment, then place in a freezer bag. The cake can be frozen for up to 3 months. Thaw overnight in the fridge, then bring to room temperature before frosting.
Best Reheating Method
If the cake has dried, reheat slices in the microwave with a splash of water, as mentioned earlier. Alternatively, place the cake in a preheated oven at 300°F for 10 minutes, covering loosely with foil to keep it moist. This method restores the cake’s original texture and aroma.