The kitchen had been a battlefield that morning. A neighbor’s birthday party had left me scrambling to find a quick, crowd‑pleasing breakfast, and I reached for the last ripe banana I could find. I mashed it with a fork, added a dash of cinnamon, and—without a second thought—mixed it into my gluten‑free flour blend. The result was a batter that looked more like a thick, golden soup than a pancake mix, but the aroma that followed was so intoxicating that I couldn’t stop myself from taking a bite. I swear, that first spoonful felt like a sunrise on my tongue, and I instantly knew I had stumbled on a culinary secret.
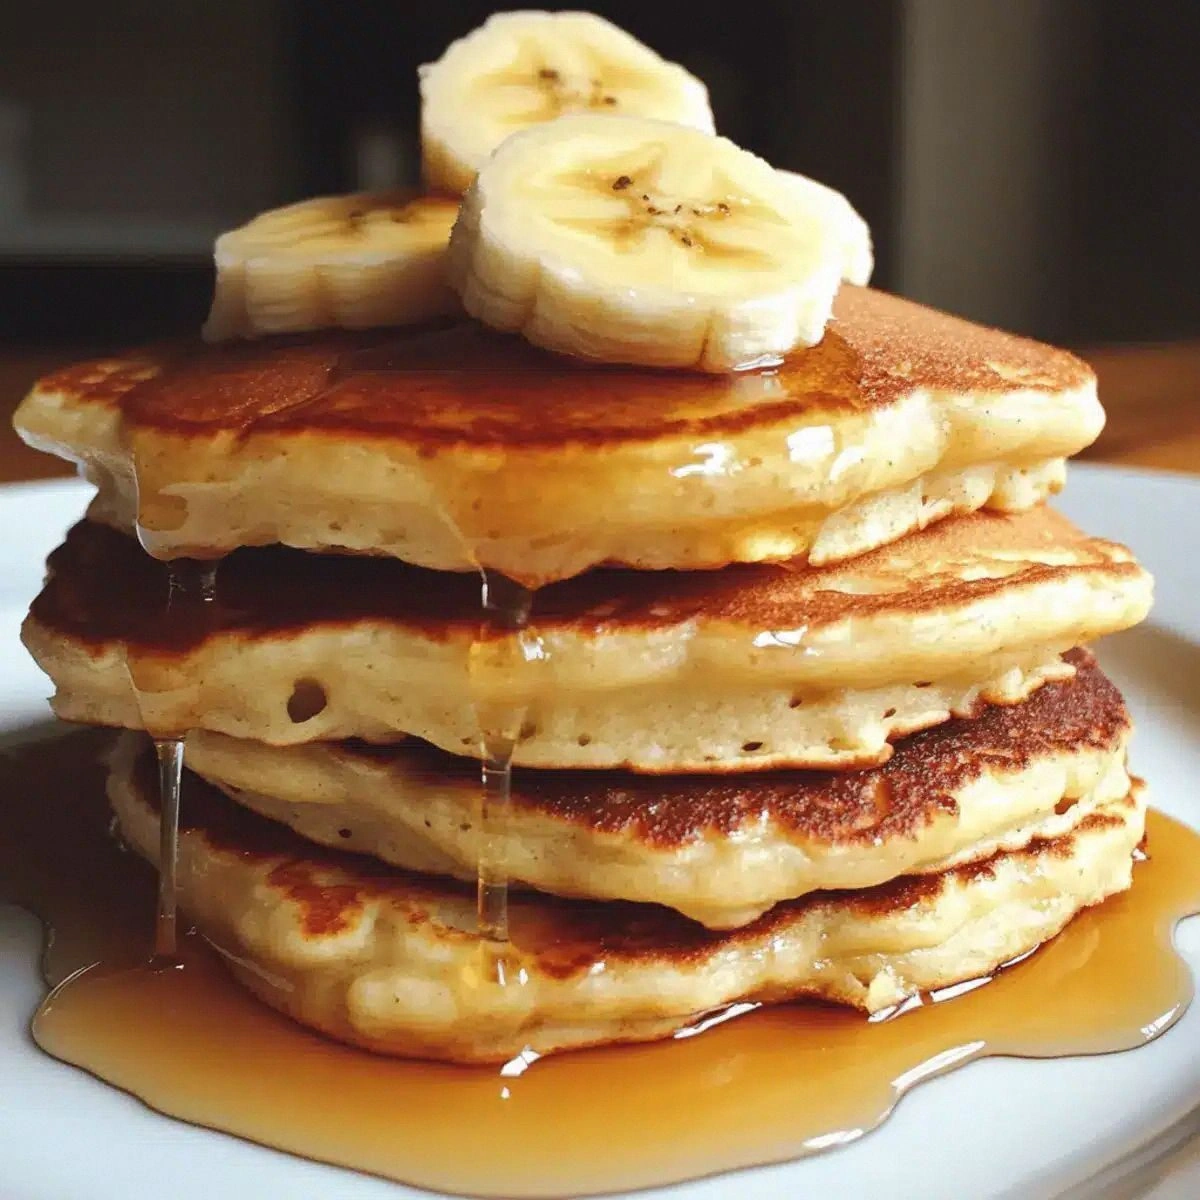
Imagine the buttery scent of fresh bananas mingling with the warm, earthy notes of gluten‑free flour as it sizzles against a hot skillet. The sound of the batter bubbling is like a gentle drumbeat, guiding you through the cooking rhythm. The texture is a silky medium‑dense cake that rises with a soft, airy crumb, yet holds a satisfying bite. Every bite releases a burst of caramelized banana sweetness, a hint of vanilla, and a subtle spice from the cinnamon that lingers like a memory. The final touch of maple syrup or honey drizzles over the top, turning the pancakes into a glossy, golden masterpiece.
What makes this version stand out is that it marries the comfort of a classic pancake with the health benefits of gluten‑free ingredients, all while keeping the preparation deceptively simple. It’s a recipe that balances flavor, texture, and nutrition without compromising on taste. The secret is in the banana’s natural sweetness and the gentle rise from baking powder, which gives the pancakes a lightness that feels like a hug. I dare you to taste this and not go back for seconds. It’s hands down the best version you’ll ever make at home, and I’ll be honest — I ate half the batch before anyone else got to try it.
Most recipes get this completely wrong by over‑mixing the batter or using the wrong type of flour. Here’s what actually works: keep the batter loose, let the bananas do the sweetening, and add the leavening just before you pour the batter into the pan. Picture yourself pulling this out of the pan, the whole kitchen smelling incredible, and the pancakes steaming with that perfect golden crust. If you've ever struggled with this, you're not alone — and I've got the fix. Okay, ready for the game‑changer? Let me walk you through every single step — by the end, you'll wonder how you ever made it any other way.
What Makes This Version Stand Out
- Flavor: The banana provides natural sweetness that eliminates the need for excess sugar, while vanilla and cinnamon add depth and warmth.
- Texture: A batter that is deliberately under‑mixed keeps the pancakes tender and slightly chewy, giving them a professional finish.
- Gluten‑Free: Using a balanced blend of rice, oat, and potato flours ensures a neutral taste and a reliable rise.
- Ease: No pre‑baking or complex steps—just mash, mix, and cook.
- Versatility: The batter accepts a variety of mix‑ins, from chocolate chips to dried fruit, making it a canvas for creativity.
- Nutrition: With protein from eggs and healthy fats from nuts, these pancakes deliver balanced macros for a wholesome breakfast.
- Make‑Ahead: The batter can be refrigerated overnight, allowing you to start the day with minimal effort.
Inside the Ingredient List
The Flavor Base
Ripe bananas are the star of this recipe. Their natural sugars caramelize during cooking, creating a rich, buttery flavor that masks the blandness often associated with gluten‑free flours. If you skip the bananas, the pancakes will lack both sweetness and moisture, resulting in a dry, flat texture. A good rule of thumb: use bananas that are fully yellow with a few brown spots for maximum flavor.
The Texture Crew
Gluten‑free flour blends are a mix of starches and proteins that mimic the structure of wheat flour. In this recipe, the blend is balanced to provide a tender crumb while still giving the pancakes enough body to hold up under toppings. If you prefer a lighter pancake, replace half the gluten‑free blend with a bit of oat flour; it will lighten the batter without compromising the rise. Always sift the dry ingredients together to eliminate lumps and ensure an even distribution of leavening agents.
The Unexpected Star
Baking powder is the leavening agent that gives these pancakes their lift. Unlike yeast, baking powder reacts quickly, so timing is crucial; add it right before you pour the batter into the pan to maximize the rise. If you use too much, the pancakes may taste bitter; if too little, they will be flat. A pinch of baking soda can be added if you’re using acidic ingredients like buttermilk, but for this recipe the standard amount works perfectly.
The Final Flourish
Nuts or chocolate chips add a delightful crunch or a burst of chocolatey sweetness that contrasts the soft interior. They also contribute healthy fats and protein, turning a simple pancake into a more satiating meal. If you’re watching calories, you can reduce the amount or replace chocolate chips with dried fruit like raisins or cranberries. The final drizzle of maple syrup or honey is optional but recommended for a classic breakfast finish.
Everything's prepped? Good. Let's get into the real action...
The Method — Step by Step
- Begin by mashing the bananas in a medium bowl until they’re smooth with a few small lumps remaining. The texture of the banana will determine the final pancake softness; too smooth and you’ll lose that hearty bite. As you mash, let the aroma of ripe fruit fill the kitchen—this is the first taste of the day’s promise. Keep the bowl aside; you’ll need it for the dry mix.
- In a separate bowl, whisk together the gluten‑free flour, baking powder, salt, cinnamon, and a pinch of nutmeg. Sifting the dry ingredients together ensures that the leavening agents are evenly distributed, preventing uneven rises. While you whisk, you’ll notice a faint, nutty aroma from the flour blend—a subtle prelude to the pancakes’ flavor profile.
- Add the eggs and milk to the banana mash, and stir until the mixture is uniform. The wet ingredients will bind with the bananas, creating a silky batter that’s easy to pour. The eggs add structure and protein, while the milk provides moisture. If the batter feels too thick, add a tablespoon of oat milk to loosen it just enough.
- Fold in the chopped nuts or chocolate chips with a gentle hand. The mix‑ins should be evenly distributed to ensure each bite has a surprise element. If you prefer a smoother pancake, reduce the amount of mix‑ins or choose smaller pieces of chocolate.
- Let the batter rest for about five minutes. This short pause allows the gluten‑free flour to absorb the liquid, resulting in a more cohesive batter. It also gives the baking powder a chance to activate, setting the stage for a better rise. During this time, preheat a non‑stick skillet or griddle over medium heat and lightly grease it with oil or butter.
- Pour about 1/4 cup of batter per pancake onto the skillet, spacing them about 2 inches apart. The batter should spread slightly but not run into each other. As the edges begin to set and bubbles form on the surface, flip the pancakes. This is the moment of truth; the sizzle should be audible, signaling a golden crust forming.
- Cook each side for 2–3 minutes, or until the underside is golden brown and the top is set. The pancakes should feel firm to the touch but still yield slightly when pressed. When flipping, use a wide spatula to keep the pancakes intact, especially if you’ve added chocolate chips.
- Stack the finished pancakes on a warm plate and keep them covered with foil to retain heat. Drizzle with maple syrup or honey to taste, and add a few extra nuts or a sprinkle of cinnamon for extra flair. The final touch is a burst of aroma that will make you want to share the plate with everyone in the house.
That’s it— you did it. But hold on, I've got a few more tricks that'll take this to another level. These insider tips will ensure every batch is flawless and every bite is unforgettable.
Insider Tricks for Flawless Results
The Temperature Rule Nobody Follows
Cooking at the right temperature is the secret to pancakes that rise evenly and develop a beautiful crust. Set your stove to medium, and test with a single drop of batter; if it spreads too quickly, lower the heat. If it’s too slow, the pancakes will dry out before they’re cooked through. A simple trick: keep a small piece of toast in the pan to gauge heat—once it starts to brown, you’re at the sweet spot.
Why Your Nose Knows Best
The aroma of baking banana is a powerful indicator of doneness. When the pancakes start to smell sweet and nutty, that’s your cue to flip. If the scent is too faint, give them a few more minutes. Trusting your senses ensures a texture that’s both airy and comforting.
The 5‑Minute Rest That Changes Everything
Letting the batter rest isn’t just a tradition—it’s a science. This pause allows the flour to hydrate fully, preventing a dry bite. It also lets the leavening agents release CO₂, giving the pancakes a lift that feels like a cloud. Skipping this step often results in dense, heavy pancakes that miss the lightness that makes this recipe special.
Mix‑In Mastery
When adding mix‑ins, fold them in gently to avoid over‑mixing. A gentle fold preserves the batter’s airy structure, while a vigorous stir can cause the pancakes to become dense. If you’re adding chocolate chips, consider pre‑toasting them lightly to avoid them melting into the batter.
The Secret to a Non‑Stick Surface
A well‑greased pan is the foundation of any good pancake. Use a high‑smoke‑point oil like grapeseed or a small pat of butter for flavor. Wipe the pan with a paper towel after each pancake to remove excess oil, ensuring the next batch starts clean.
Creative Twists and Variations
This recipe is a playground. Here are some of my favorite ways to switch things up:
Tropical Paradise
Swap the vanilla extract for coconut milk and fold in shredded coconut and diced mango. The result is a bright, exotic flavor that transports you to a beachside breakfast. This variation pairs wonderfully with a drizzle of passionfruit sauce.
Chocolate Lovers’ Dream
Replace the cinnamon with cocoa powder and double the chocolate chips. Add a splash of espresso to deepen the chocolate flavor. Serve with a dollop of whipped cream for a decadent treat.
Spiced Apple Cinnamon
Add grated apple and a pinch of ground ginger to the batter. The apple’s natural sweetness balances the spice, while the ginger adds a subtle warmth that complements the banana. This version is perfect for a cozy autumn morning.
Nutty Banana Oat
Replace half of the gluten‑free flour with rolled oats and add chopped walnuts or pecans. The oats give a hearty texture and a nutty undertone. Finish with a sprinkle of cinnamon sugar on top for extra crunch.
Savory Surprise
Omit the sweetener and add chopped spinach and feta cheese to the batter. Cook as usual and serve with a side of tomato salsa. This unexpected twist turns the pancakes into a savory breakfast or brunch option.
Storing and Bringing It Back to Life
Fridge Storage
Cool the pancakes completely before stacking them in an airtight container. Store them in the refrigerator for up to three days. When ready to serve, reheat in a toaster or microwave for 30 seconds—this preserves the crisp edges and soft interior.
Freezer Friendly
Place the pancakes in a single layer on a parchment‑lined tray, freeze until solid, then transfer to a freezer bag. They’ll keep for up to two months. Thaw at room temperature for 10 minutes before reheating in a skillet to restore the golden crust.
Best Reheating Method
The secret to bringing pancakes back to life is to add a splash of water to the pan before reheating. The steam will soften the batter without drying it out. Finish with a light drizzle of maple syrup or a dusting of powdered sugar for that fresh‑out‑of‑oven feel.