
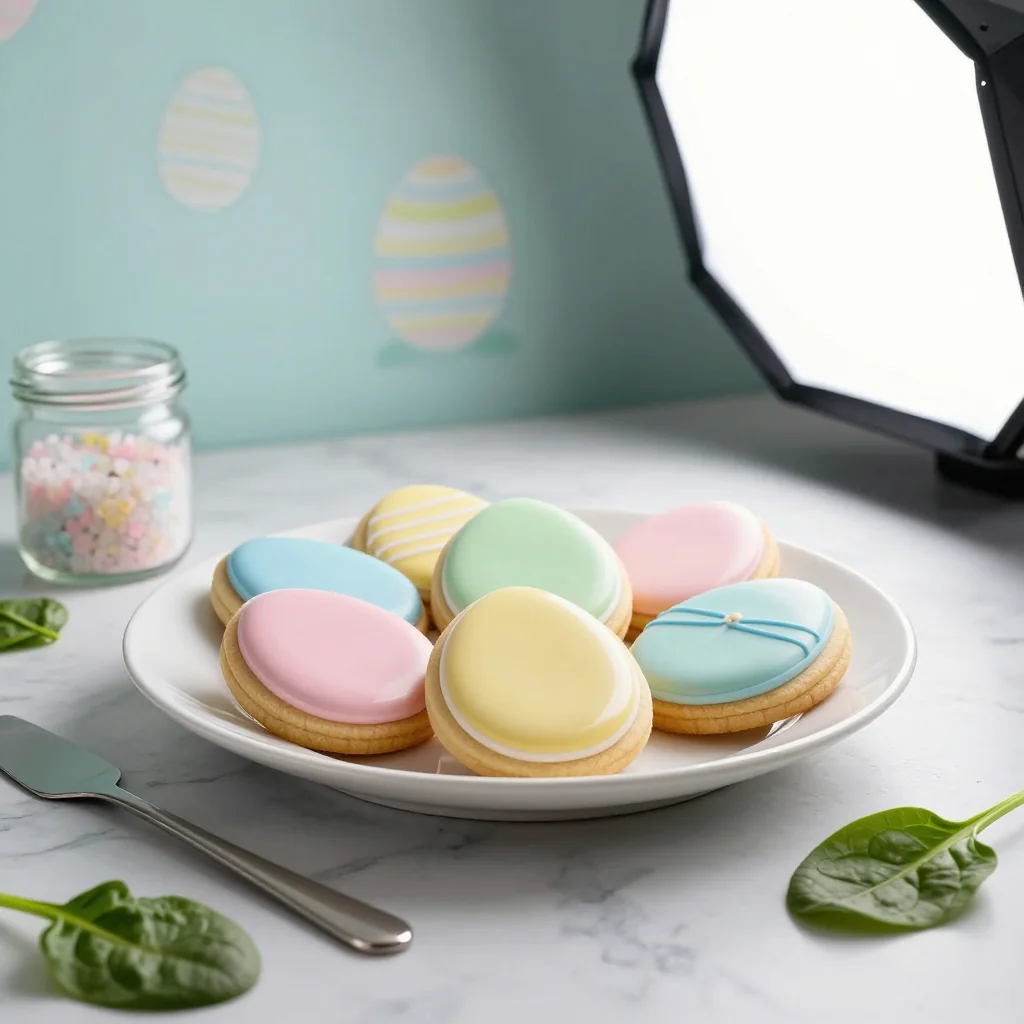
Delightful pastel cookies that hide a surprise egg‑shaped center, perfect for spring celebrations.
There’s something magical about the first bite of a cookie that looks like a tiny, pastel‑colored egg. I still remember the excitement of discovering my grandmother’s hidden egg‑filled cookies on a bright spring morning, the way the sugary shell cracked to reveal a soft, buttery center that melted on my tongue. That memory sparked a lifelong love affair with seasonal sweets, and every Easter I try to recreate that wonder in my own kitchen.
The Easter Egg Sugar Cookie has its roots in European spring traditions, where eggs symbolized rebirth and new beginnings. Over time, bakers turned the simple egg shape into a canvas for vibrant royal icing, turning each cookie into a miniature work of art. This recipe blends classic American sugar cookie texture with a glossy, royal icing that can be tinted to any hue you imagine.
In this guide you’ll learn how to master a buttery, tender cookie dough, how to achieve perfectly smooth royal icing, and how to assemble the final masterpiece with precision. Whether you’re a seasoned baker or a weekend hobbyist, the step‑by‑step instructions, pro tips, and troubleshooting notes will ensure your cookies turn out picture‑perfect every time.
So roll up your sleeves, preheat the oven, and let’s bring a burst of spring color to your table. I can’t wait to see how your cookies brighten up the celebration!
🌟 Why This Recipe Will Captivate You
From the moment you mix the dough to the final drizzle of glossy icing, this recipe offers a delightful blend of texture, flavor, and visual appeal.
- ✨ Irresistible Texture: The dough yields a crisp edge with a soft, melt‑in‑your‑mouth center, thanks to the perfect balance of butter and powdered sugar.
- ✨ Vibrant Customizable Icing: Royal icing can be tinted with any food‑grade color, letting you match any holiday palette or personal theme.
- ✨ Simple Yet Elegant: No fancy equipment is required; a basic mixing bowl, a piping bag, and a cookie cutter do the trick.
- ✨ Perfect for Gatherings: The cookies hold their shape well, making them ideal for gift boxes, party platters, or a decorative centerpiece.
- ✨ Kid‑Friendly Fun: Children love helping to pipe the icing and decorate each egg, turning baking into a memorable family activity.
- ✨ Long Shelf Life: Properly stored, these cookies stay fresh for up to two weeks, preserving both flavor and color.
🥗 Ingredients
📝 Complete Ingredient List
For the Cookies:
For the Royal Icing:
For the Filling (optional buttery cream):
🔍 Focus on Key Ingredients
Unsalted Butter
Butter is the heart of the cookie dough, providing richness and a tender crumb. Choose a high‑fat, European‑style butter if you can find it; it contains slightly more fat than standard American butter, resulting in a silkier texture. Let the butter soften at room temperature for about 30 minutes—this ensures it creams smoothly with the sugar without turning grainy.
Powdered Sugar (Icing Sugar)
For the royal icing, powdered sugar dissolves effortlessly, giving the glaze its signature glossy finish. If you prefer a smoother surface, sift the sugar before mixing to remove any lumps. Adding a pinch of cornstarch can also help prevent clumping during storage.
Egg Whites
Egg whites act as the binding agent and give the icing its glossy sheen. Using fresh, room‑temperature egg whites encourages better aeration when whisked. If you have concerns about raw eggs, you can substitute pasteurized egg whites without compromising texture.
🔄 Quick Substitutions
| If you don’t have... | Use instead... |
|---|---|
| Unsalted butter | Salted butter (reduce added salt by ½ tsp) |
| Egg whites | Pasteurized egg whites or aquafaba (¼ cup) |
| Powdered sugar | Blend granulated sugar in a blender until fine |
👨🍳 Step‑by‑Step Instructions
Follow these detailed stages to create perfectly shaped cookies, a smooth royal icing, and a stunning final presentation.
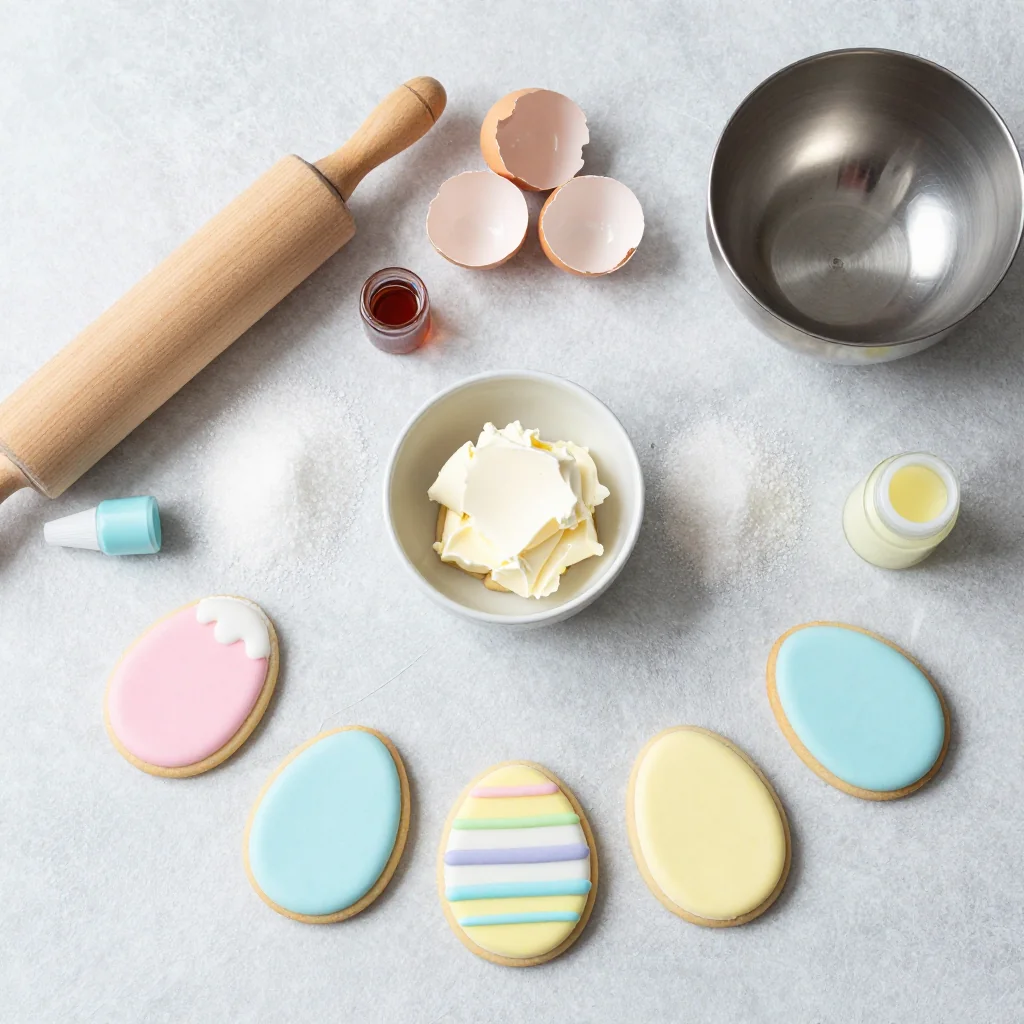
📋 Phase 1: Preparation and Mise en Place
Gather your tools, preheat the oven, and bring ingredients to room temperature.
Prepare the dough
In a large mixing bowl, cream together the softened butter and granulated sugar with a handheld mixer on medium speed for 2‑3 minutes, until the mixture is light and fluffy. Scrape the sides of the bowl, then add the eggs one at a time, beating well after each addition, followed by the vanilla extract. The batter should look glossy and slightly thick.
Incorporate dry ingredients
Sift together the flour, baking powder, and sea salt into a separate bowl. Gradually add the dry mixture to the wet ingredients, mixing on low speed just until combined. Over‑mixing will develop gluten and make the cookies tough.
Chill the dough
Wrap the dough in plastic wrap and refrigerate for at least 1 hour, or up to 24 hours. Chilling firms the butter, making the dough easier to roll and cut, and also enhances the flavor.
🔥 Phase 2: Baking and Assembly
Shape the cookies, bake them to a perfect golden hue, and prepare the royal icing.
Roll and cut the cookies
On a lightly floured surface, roll the chilled dough to a uniform thickness of about ½ cm (¼ inch). Using an egg‑shaped cookie cutter, press firmly to cut out shapes. Place the cookies on a parchment‑lined baking sheet, leaving a small gap between each.
Bake the cookies
Preheat the oven to 180 °C (350 °F). Bake the cookies for 10‑12 minutes, or until the edges are lightly golden while the centers remain pale. Rotate the sheet halfway through for even browning.
Cool the cookies
Allow the cookies to cool on the baking sheet for 5 minutes, then transfer them to a wire rack to cool completely. This prevents the icing from melting upon contact.
Make the royal icing
In a clean bowl, whisk together the powdered sugar, egg whites, lemon juice, and cream of tartar until the mixture forms a thick, glossy glaze. For a smoother flow, add a few drops of water if the icing feels too stiff. Divide the icing into separate bowls for each color you plan to use, then stir in gel or liquid food coloring until the desired hue is achieved.
✨ Phase 3: Finishing Touches and Plating
Add the optional filling, pipe the icing, and showcase your creations.
Optional buttercream filling
If you wish to hide a creamy surprise inside each egg, whisk together the softened butter, powdered sugar, and vanilla until light and fluffy. Transfer to a piping bag fitted with a small round tip. Using a thin needle or a small knife, carefully make a tiny incision at the base of each cookie and pipe a modest dollop of buttercream, then seal the opening.
Pipe the royal icing
Fit a piping bag with a fine round tip (about 0.5 mm). Starting at the base of each egg, draw a smooth line of icing around the perimeter, then fill the interior with a gentle swirl. For a marbled effect, drag a clean toothpick through the wet icing to create delicate veins.
Dry and serve
Allow the decorated cookies to set at room temperature for 30‑45 minutes, or place them in a low‑heat oven (50 °C / 120 °F) for 10 minutes to speed up drying. Once the icing is firm, arrange the cookies on a decorative platter, garnish with edible pearls or sprinkles if desired, and serve.
💡 Expert Tips and Tricks
🛒 Choosing the Best Ingredients
Always opt for European‑style butter with at least 82 % butterfat; it creates a richer flavor and a more tender crumb. When selecting eggs, choose free‑range or pasture‑raised for deeper yolk color and better emulsification. For the icing, use a high‑quality gel food coloring—liquid colors can dilute the glaze and cause it to run.
🔪 Preparation Techniques
Before rolling, lightly flour the surface and the rolling pin to prevent sticking. Use a light hand when cutting the shapes; a firm press ensures clean edges. If you notice the dough cracking, let it rest for a few minutes; the gluten will relax and the dough will become pliable again.
🌡️ Mastering the Baking Process
Every oven behaves slightly differently. Use an oven thermometer to verify the temperature. Rotate the baking sheet halfway through the bake to achieve uniform color. The cookies should feel set on the edges but still soft in the center; they will firm up as they cool.
🍽️ Presentation and Service
For a polished look, place the cookies on a pastel‑colored platter or a rustic wooden board. Add a few fresh spring flowers or edible blossoms for extra visual appeal. Serve alongside a light citrus tea or a sparkling rosé to complement the sweet, buttery flavor.
🏆 Pro Tips
Elevate your cookies from home‑cooked to bakery‑level with these professional insights.
- 🎯 Temperature Control: Keep butter and eggs at the same temperature (room temperature) before mixing. This prevents the butter from solidifying when the cold eggs are added, which can cause a grainy texture.
- 🎯 Precision in Icing Consistency: Aim for a “soft‑ball” stage when beating the royal icing—when you lift the whisk, the icing should form a smooth peak that gently folds back on itself. Too thin and it runs; too thick and it cracks.
- 🎯 Color Stability: Add a tiny pinch of cornstarch to each colored icing batch. It helps lock in the pigment and prevents bleeding when the colors meet.
- 🎯 Air‑Bubbles in Icing: After coloring, gently tap the bowl on the counter to release trapped air, then stir briefly. This yields a flawless, bubble‑free surface.
- 🎯 Uniform Cookie Size: Use a kitchen scale to weigh each cut cookie (approximately 15 g each). Uniform weight ensures even baking and consistent icing coverage.
- 🎯 Storage Hack: Place a sheet of parchment paper between layers of cookies when storing to avoid sticking of the icing.
"Great baking is about precision, patience, and a dash of imagination." — Dominique Ansel
🔄 Variations and Adaptations
Feel free to experiment with flavors, textures, and dietary needs while keeping the core technique intact.
🥬 Vegetarian/Vegan Version
Swap the butter for a plant‑based margarine with a high fat content, and replace egg whites with aquafaba (the liquid from canned chickpeas). Use a vegan vanilla extract and ensure your food colorings are plant‑based.
- Replace butter with 250 g vegan margarine.
- Replace each egg white with ¼ cup aquafaba.
🌶️ Flavor Variations
Play with the flavor profile by adding subtle extracts or spices to the dough or icing.
Spiced Version:
Add ½ tsp ground cinnamon and a pinch of nutmeg to the dry ingredients for a warm, comforting twist.
Mediterranean Version:
Incorporate finely grated orange zest into the dough and drizzle a thin orange‑infused glaze over the icing for a citrusy freshness.
Asian‑Inspired Version:
Mix a drop of matcha powder into the icing for a delicate green hue and earthy flavor; garnish with toasted sesame seeds.
⚠️ Dietary Adaptations
Gluten‑Free:
Use a 1:1 gluten‑free flour blend (rice flour, potato starch, tapioca starch) and add 1 tsp xanthan gum to mimic the elasticity of wheat flour.
Lactose‑Free:
Swap butter for a lactose‑free spread such as a high‑fat coconut oil or dairy‑free butter alternative.
Low‑Calorie:
Reduce the granulated sugar in the dough to 100 g and replace half of the butter with unsweetened applesauce; the cookies will be softer but still flavorful.
👶 Family/Kids Version
For little hands, use larger cookie cutters (mini‑egg shape) and simplify the icing to two colors. Let children mix the butter and sugar (with supervision) and use squeeze bottles for the icing—this reduces the need for piping bags and makes the process less messy.
📦 Storage and Reheating
🧊 Conservation
In the Refrigerator:
- Duration: 7 days
- Recommended container: airtight plastic container with a single layer of parchment between layers.
- Tip: Store the icing separately in a tightly sealed jar to prevent moisture absorption.
In the Freezer:
- Duration: 3 months
- Method: Place cookies in a single layer on a baking sheet, freeze until solid, then transfer to a freezer‑safe zip‑lock bag.
- Defrosting: Move to the refrigerator overnight, then let sit at room temperature for 30 minutes before serving.
💡 Keep the icing in a cool, dry place; if it hardens, whisk in a few drops of water to restore flow.
♨️ Reheating
🔥 In the Oven (Recommended):
- Preheat to 150 °C (300 °F).
- Place cookies on a parchment‑lined tray.
- Heat for 5‑7 minutes.
- Remove and let cool for a minute; the icing will set again.
⚡ In the Microwave (Quick):
- Place a single cookie on a microwave‑safe plate.
- Cover with a microwave‑safe lid.
- Heat on medium power for 15‑20 seconds.
- Check; if still cool, add another 10 seconds.
🍳 In a Skillet:
Warm a non‑stick skillet over low heat, place the cookie for 30 seconds each side. This method revives a slight crispness without drying out the icing.
🍷 Perfect Pairings
🥗 Side Dishes
- Fresh Berry Salad: A mix of strawberries, blueberries, and mint adds a bright, tart contrast.
- Light Lemon Yogurt Parfait: Creamy yogurt with a drizzle of honey balances the sweetness.
- Vanilla Bean Panna Cotta: Silky custard provides a sophisticated, mellow backdrop.
🍷 Wine & Beverage Pairings
- Prosecco: Its crisp bubbles cut through the buttery richness.
- Riesling (off‑dry): The subtle acidity mirrors the lemon in the icing.
- Non‑Alcoholic: Sparkling elderflower soda adds floral notes without overwhelming sweetness.
🍰 Completing the Meal
Start with a light citrus soup or a seasonal asparagus tart, move to these Easter Egg cookies as a sweet intermezzo, and finish with a delicate lemon sorbet or a classic crème brûlée for an elegant, balanced dining experience.
❓ Frequently Asked Questions
Q: Can I use a different shape if I don’t have an egg cutter?
A: Absolutely! Round or heart‑shaped cutters work well. If you use a round cutter, you can still pipe a decorative “egg” pattern with the icing to maintain the theme.
Q: How do I prevent the royal icing from cracking?
A: Ensure the icing is not too dry; a small amount of water or extra lemon juice will keep it supple. Also, avoid exposing the decorated cookies to sudden temperature changes, which can cause the glaze to contract and crack.
Q: Is it safe to eat raw egg whites in the icing?
A: Traditional royal icing uses raw egg whites, which carry a minimal risk of salmonella. For peace of mind, use pasteurized egg whites or a meringue powder substitute, which behaves identically in the recipe.
Q: My cookies spread too much while baking. What can I do?
A: Chill the dough longer (up to 2 hours) and make sure the butter is not overly soft. Adding a tablespoon of cornstarch to the flour can also absorb excess moisture and reduce spreading.
Q: Can I make the icing ahead of time?
A: Yes, store the prepared icing in an airtight container in the refrigerator for up to 3 days. Before using, bring it to room temperature and whisk to restore its smooth consistency.
Q: How far in advance can I assemble the cookies?
A: You can pipe the icing up to 24 hours before serving, as long as the cookies are stored in a dry, airtight container. This allows the colors to set fully and the flavors to meld.
🎉 To Your Oven!
These Easter Egg Sugar Cookies with Royal Icing combine buttery comfort with vibrant artistry, making them a centerpiece for any spring gathering. The recipe’s balance of simple ingredients, precise technique, and endless decorative possibilities ensures that each batch feels both familiar and spectacular. Whether you’re impressing guests or creating a family tradition, the cookies promise smiles, bright colors, and a lingering sweet taste that captures the spirit of renewal.
Give the recipe a try, experiment with your favorite color palettes, and don’t hesitate to share your beautiful creations. Your feedback helps the community grow, and your photos inspire others to pick up a whisk and celebrate the season.
Have you tried this recipe?
Leave a comment and rating below! Share your photos on Instagram with #EasterEggCookies to be featured on our site.
Easter Egg Sugar Cookies with Royal Icing
Pastel‑colored sugar cookies hiding a buttery surprise, finished with glossy royal icing.
📝 Ingredients
Cookie Dough
Royal Icing
👨🍳 Instructions
- 1 Cream butter and sugar until light and fluffy.
- 2 Add eggs one at a time, then vanilla.
- 3 Mix in sifted flour, baking powder, and salt.
- 4 Chill dough for 1 hour.
- 5 Roll to ½ cm thickness and cut egg shapes.
- 6 Bake at 180 °C for 10‑12 min.
- 7 Cool completely on a wire rack.
- 8 Prepare royal icing, divide, and color.
- 9 Pipe icing around each cookie and fill if desired.
- 10 Let set, then serve or store.
🥗 Nutritional Information (per serving)
*Values are estimates based on standard ingredient brands.
📚 You Might Also Like
Lemon Shortbread Cookies
Chocolate Easter Bunny Cake
Vanilla Bean Macarons


💬 Comments & Reviews
Leave a Comment
[Comments will appear here once readers start sharing their thoughts.]