You know that moment when the kitchen turns into a battleground and you’re staring at a bag of chicken thighs that look like they’re about to audition for a role in a horror movie? That was me last Tuesday, armed with a recipe I’d found in a dusty cookbook and a burning desire for something sweet, smoky, and downright irresistible. I tossed the thighs in a bowl of salt, pepper, and a dash of paprika, then let them mingle with a sauce that smelled like a summer campfire and a drizzle of honey. The sizzle that followed was the kind of sound that makes your heart skip a beat—like a drumroll before the final act of a blockbuster. The aroma that filled the room was a heady mix of caramel and tang, promising a flavor adventure that would make every bite feel like a tiny, edible fireworks show.
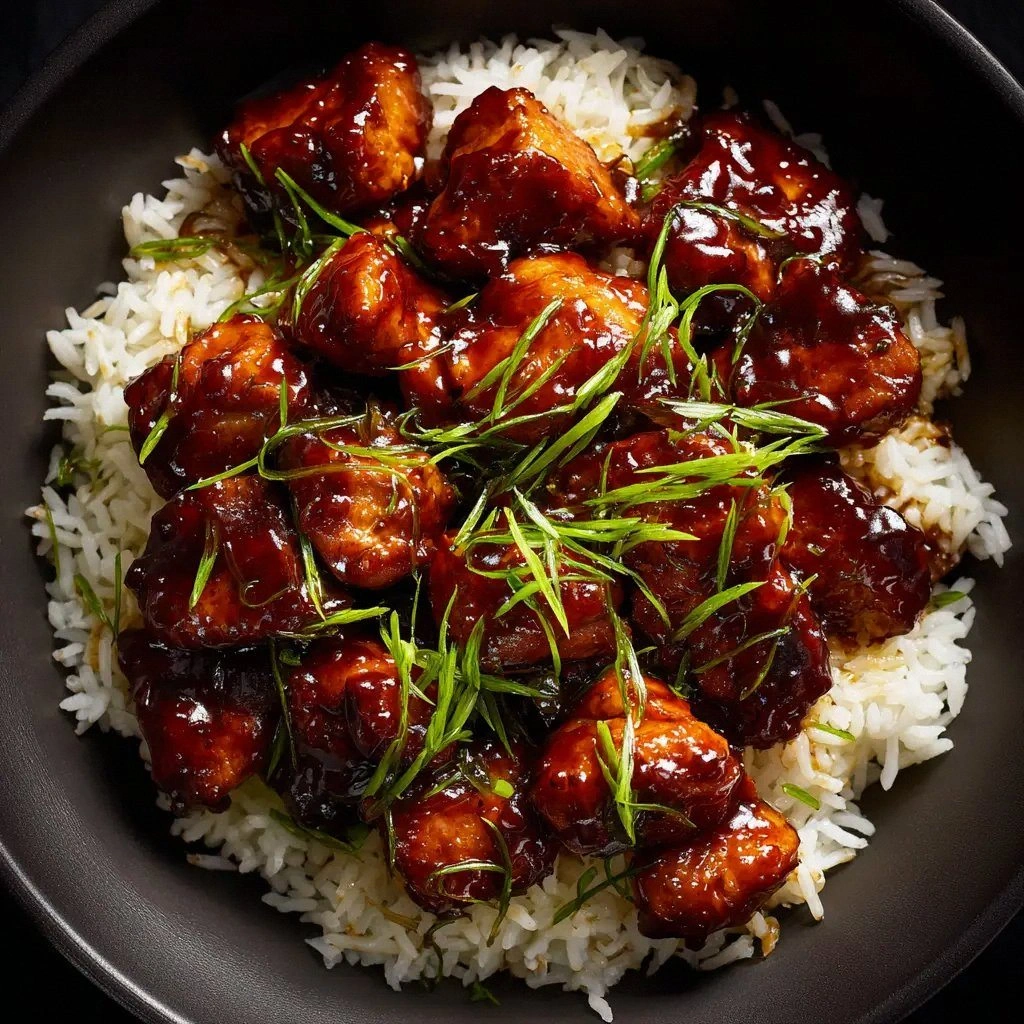
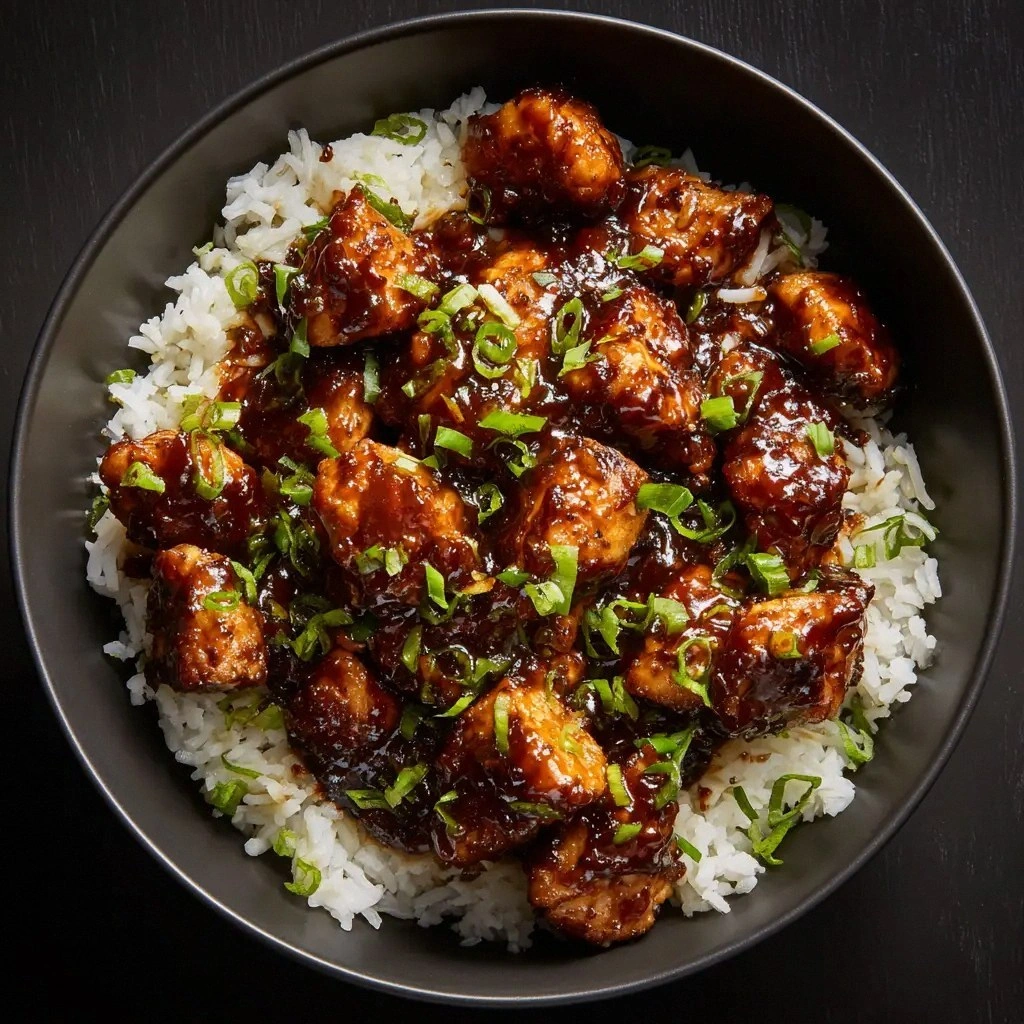
I was skeptical at first—after all, how many times have we heard about “honey BBQ chicken” and ended up with something that tastes like a bland, syrupy mess? But this version? It’s hands down the best you’ll ever make at home. The sauce isn’t just sweet; it’s a complex orchestra where honey, ketchup, and apple cider vinegar hit the right notes, while soy sauce and Worcestershire give it that deep umami undertone that lingers long after the last forkful. Picture the glaze coating the thighs like a glossy, sticky coat that cracks to reveal a tender, juicy interior—crispy edges that shatter like thin ice, leaving a satisfying crunch that contrasts with the soft, melt‑in‑your‑mouth meat.
If you’ve ever tried a recipe that promised “sticky, sweet” and delivered a soggy, flavorless mess, you know how disappointing that can be. Most recipes get this completely wrong. They either over‑sweeten or under‑season, leaving the chicken limp or the glaze too thin. I’m about to show you how to avoid those pitfalls with a technique that uses a simple pan sear to lock in flavor, and a finishing bake that caramelizes the sauce to perfection. And trust me, the moment you pull this dish out of the oven, the kitchen will smell incredible—like a sweet, smoky hug that invites everyone to the table.
Okay, ready for the game‑changer? This recipe isn’t just a set of instructions; it’s a full sensory experience. By the end, you’ll wonder how you ever made it any other way. Let me walk you through every single step—because I dare you to taste this and not go back for seconds.
What Makes This Version Stand Out
- Flavor Depth: The sauce marries sweet, tangy, and umami notes, creating a complex profile that lingers on the palate.
- Texture Contrast: Crispy, caramelized edges meet a melt‑in‑your‑mouth interior, delivering a satisfying bite.
- Ingredient Quality: Using bone‑in, skin‑on thighs keeps the meat juicy and flavorful, while fresh garlic powder and smoked paprika add authentic warmth.
- Ease of Prep: A single pan sear and a short oven finish mean you can have a restaurant‑quality meal with minimal effort.
- Make‑Ahead Friendly: The chicken can be marinated overnight, and the sauce can be prepared ahead of time, making it ideal for busy weeknights.
- Crowd‑Pleaser: The sticky glaze is a hit with both kids and adults, making it perfect for family dinners or parties.
- Versatility: Serve it over rice, with roasted veggies, or in tacos—this dish adapts to any meal plan.
- Health‑Conscious Option: Swap regular honey for a lower‑glycemic sweetener or reduce the ketchup for fewer carbs without sacrificing flavor.
Inside the Ingredient List
The Flavor Base
Ketchup and honey form the sweet backbone of this sauce, but the real magic comes from the balance of acidity and umami. Apple cider vinegar cuts through the sweetness, giving the glaze a bright, tangy lift that prevents it from becoming cloying. Soy sauce and Worcestershire sauce contribute depth, infusing the mixture with a savory richness that complements the chicken’s natural flavor. Skipping any of these components will leave the sauce feeling one‑dimensional—think of it as a symphony where every instrument plays a crucial role.
The Texture Crew
The bone‑in, skin‑on chicken thighs are the star of the show. The bone adds marrow‑rich flavor that seeps into the meat during cooking, while the skin crisps to a golden finish, locking in moisture and creating a textural contrast that’s hard to resist. If you’re short on time, skin‑on thighs can be cooked whole and then shredded, but the whole‑thigh method preserves the juicy, tender interior that makes this dish unforgettable.
The Unexpected Star
Smoked paprika isn’t just a garnish—it’s a flavor enhancer that gives the dish a subtle smoky undertone, elevating the overall profile. Garlic powder adds a clean, aromatic bite that cuts through the sweetness, while onion powder brings a mild, savory backdrop. These seasonings are so subtle that they’re almost invisible, yet they’re essential to achieving the dish’s signature flavor balance.
The Final Flourish
The finishing touch is a drizzle of honey right before you finish baking. This extra layer of sweetness caramelizes under the oven’s heat, producing a glossy glaze that’s both visually stunning and deliciously sticky. The trick is timing—too early, and the honey will burn; too late, and you’ll miss the glossy finish. A quick brush of honey in the last minute of baking ensures a perfect finish every time.
Everything's prepped? Good. Let's get into the real action...
The Method — Step by Step
- Preheat your oven to 400°F (200°C). While it heats, pat the chicken thighs dry with paper towels—this ensures a crispier skin. Season the thighs generously with kosher salt and black pepper, letting the spices seep into the meat. I swear, a good seasoning rub is the secret to a flavorful crust.
- In a medium bowl, whisk together ketchup, honey, apple cider vinegar, soy sauce, Worcestershire sauce, garlic powder, smoked paprika, and onion powder until the mixture is smooth and well combined. The consistency should be thick enough to coat the back of a spoon. This is where the sauce starts to sing.
- Heat a large oven‑safe skillet over medium‑high heat and add a splash of oil. Once the oil shimmers, place the chicken thighs skin‑side down. Sear for 5–7 minutes, until the skin is golden brown and releases easily from the pan. This step locks in juices and creates the first layer of flavor.
- Flip the thighs and pour the sauce mixture over them, ensuring each piece is well coated. Reduce the heat to medium and let the sauce simmer for 3 minutes, allowing it to thicken slightly. The smell of caramelizing honey will fill the kitchen—absolute perfection.
- Transfer the skillet to the preheated oven and bake for 20 minutes. The sauce will bubble and caramelize, turning a deep amber color. Keep an eye on it—if it starts to brown too quickly, tent the pan loosely with foil.
- While the chicken is baking, prepare a small saucepan with a splash of water. In the last 5 minutes of cooking, add a drizzle of honey to the pan, stir, and then pour it over the thighs. This final glaze step gives the dish its signature shiny finish.
- Remove the skillet from the oven and let the thighs rest for 5 minutes. Resting allows the juices to redistribute, ensuring each bite is juicy and tender. While they rest, let the sauce thicken further.
- Serve the thighs with a generous spoonful of the remaining sauce drizzled over the top. Pair them with rice, mashed potatoes, or a fresh slaw for a balanced meal. The sticky glaze will coat everything, creating a flavor explosion.
- Enjoy the moment of triumph—watch as friends and family dive into the sticky, sweet, savory masterpiece you just created. Remember, I dare you to taste this and not go back for seconds.
That's it — you did it. But hold on, I've got a few more tricks that'll take this to another level...
Insider Tricks for Flawless Results
The Temperature Rule Nobody Follows
Many people think 400°F is the sweet spot for all chicken dishes, but the key here is to start at medium‑high for the initial sear and then lower to medium for baking. This two‑stage approach ensures the skin crisps up while the interior stays juicy. I’ve found that a slightly lower oven temperature (375°F) can also work, especially if you’re using a thicker cut of meat.
Why Your Nose Knows Best
The aroma of caramelizing honey is a reliable indicator that the glaze is ready. If you notice a faint burnt scent, it’s time to reduce the heat or tent the pan. Your nose is a powerful tool—trust it to guide you toward the perfect finish.
The 5-Minute Rest That Changes Everything
Resting the chicken after baking might seem like a waste of time, but it’s essential. During this brief pause, the juices redistribute, preventing them from spilling out when you cut into the meat. It also allows the glaze to set, giving that glossy, sticky coating that’s a hallmark of this dish.
Keep the Sauce Thick, Not Thin
If the sauce feels too runny after searing, give it a few extra minutes on low heat to reduce. A thick, clingy sauce will adhere better to the thighs, ensuring every bite is coated. A thin sauce can make the dish feel watered down and less satisfying.
Use a Thermometer for Precision
Investing in a digital instant-read thermometer pays off. Aim for 165°F (74°C) inside the thickest part of the thigh. This guarantees safety and ensures you’re not overcooking the meat, which can lead to dryness.
Creative Twists and Variations
This recipe is a playground. Here are some of my favorite ways to switch things up:
Smoky Chipotle Twist
Add a tablespoon of chipotle in adobo to the sauce for a smoky kick that pairs wonderfully with grilled corn on the cob. This variation is perfect for summer barbecues.
Asian Fusion Flair
Swap the ketchup for hoisin sauce and add a splash of sesame oil. Finish with a sprinkle of toasted sesame seeds for an Asian‑inspired twist that’s both sweet and savory.
Low‑Carb Comfort
Use a sugar‑free honey substitute and reduce the ketchup to half. Pair the chicken with cauliflower rice for a low‑carb meal that still delivers on flavor.
Breakfast Bonanza
Serve the sticky chicken over a bed of scrambled eggs and toast for a hearty breakfast that’s far from ordinary. The sweet glaze complements the savory eggs beautifully.
Vegan Version
Replace the chicken with thick slices of portobello mushrooms, and use a plant‑based soy sauce. The mushrooms absorb the glaze, creating a meatless dish that still satisfies.
Storing and Bringing It Back to Life
Fridge Storage
Store leftovers in an airtight container in the refrigerator for up to 4 days. The glaze will thicken slightly, so reheat gently to avoid drying out the chicken.
Freezer Friendly
You can freeze the cooked chicken and sauce separately for up to 3 months. Thaw overnight in the fridge and reheat in a skillet with a splash of water to keep it moist.
Best Reheating Method
Reheat in a low‑heat oven (300°F) for 10–15 minutes, adding a tiny splash of water before covering the dish. This steam keeps the meat tender and restores the glaze’s shine.