Love this? Pin it for later! 📌
There's something magical about opening the freezer on a chaotic weeknight and finding a container of this soul-warming rosemary garlic beef stew waiting for you. The rich aroma of tender beef, earthy rosemary, and aromatic garlic transports me back to my grandmother's cozy kitchen, where she taught me that the best stews are made with patience, love, and plenty of time for the flavors to meld together beautifully.
This particular recipe has been my faithful companion through countless busy seasons of life. When my twins were newborns and I could barely find time to shower, let alone cook, this stew was my lifeline. I'd spend one Sunday afternoon every month preparing triple batches, portioning them into family-sized containers, and knowing that no matter how exhausted I felt, a nourishing, homemade meal was always just a quick reheat away. The rosemary and garlic combination creates such an incredible depth of flavor that actually improves after freezing – the herbs infuse the broth even more deeply, and the beef becomes fork-tender in a way that only time (and your freezer) can achieve.
What makes this stew truly special is its versatility. It's elegant enough to serve to dinner guests with some crusty artisan bread and a bold red wine, yet comforting enough to feed hungry teenagers after a football game. The freezing process works perfectly because stew meat becomes more tender when frozen and thawed, breaking down the connective tissues in a way that mimics the long, slow cooking process. Whether you're meal prepping for a busy month, cooking for elderly parents who need easy-to-reheat meals, or simply want to stock your freezer with homemade comfort food, this rosemary garlic beef stew will become your new favorite kitchen companion.
Why This Recipe Works
- Freeze-Perfect Formula: The beef chuck becomes even more tender after freezing and thawing, while the vegetables maintain their texture beautifully.
- Flavor Development: Rosemary and garlic intensify during freezing, creating a more complex, restaurant-quality stew upon reheating.
- Time-Saving Batch Cooking: One afternoon of cooking yields 4-6 family meals that can be frozen for up to 3 months.
- Budget-Friendly Luxury: Uses affordable beef chuck that transforms into melt-in-your-mouth tender chunks through slow cooking and freezing.
- Nutrition-Packed Comfort: Loaded with root vegetables, lean protein, and immune-boosting herbs for a complete one-pot meal.
- Stress-Free Entertaining: Prepare weeks ahead, freeze, and simply reheat for impressive dinner parties with zero day-of stress.
Ingredients You'll Need

The magic of this rosemary garlic beef stew lies in the quality of your ingredients. Each component plays a crucial role in building layers of flavor that will only improve with freezing. Let's explore each ingredient and how to select the best options for your stew.
Beef Chuck Roast (2.5 lbs) – This is absolutely non-negotiable for the best results. Chuck roast comes from the shoulder area of the cow, which means it has the perfect amount of marbling and connective tissue. When slowly cooked and frozen, this collagen breaks down into gelatin, creating that luxurious, silky broth that makes restaurant-quality stew. Look for well-marbled chuck with bright red color and creamy white fat. Avoid anything that looks brown or has an off smell. You can often find chuck roast on sale at warehouse stores – buy extra when you find a good deal and freeze it specifically for future stews.
Fresh Rosemary (3-4 sprigs) – Fresh rosemary is essential for this recipe. The woody stems actually infuse more flavor during the long cooking process, and the freezing process helps extract every bit of essential oil from the needles. If you have rosemary growing in your garden, this is the perfect time to use it generously. When buying fresh rosemary, look for bright green, flexible stems with no black spots or yellowing. Store extra rosemary by wrapping it in slightly damp paper towels and keeping it in your vegetable crisper.
Garlic (8-10 cloves) – Don't be intimidated by the amount of garlic here. When slowly simmered, garlic becomes sweet and mellow rather than pungent. I prefer using fresh garlic that I peel and smash myself rather than pre-minced versions. The freezing process actually helps meld the garlic flavor throughout the entire stew. If you're a true garlic lover, you can even roast a few extra cloves and add them when serving.
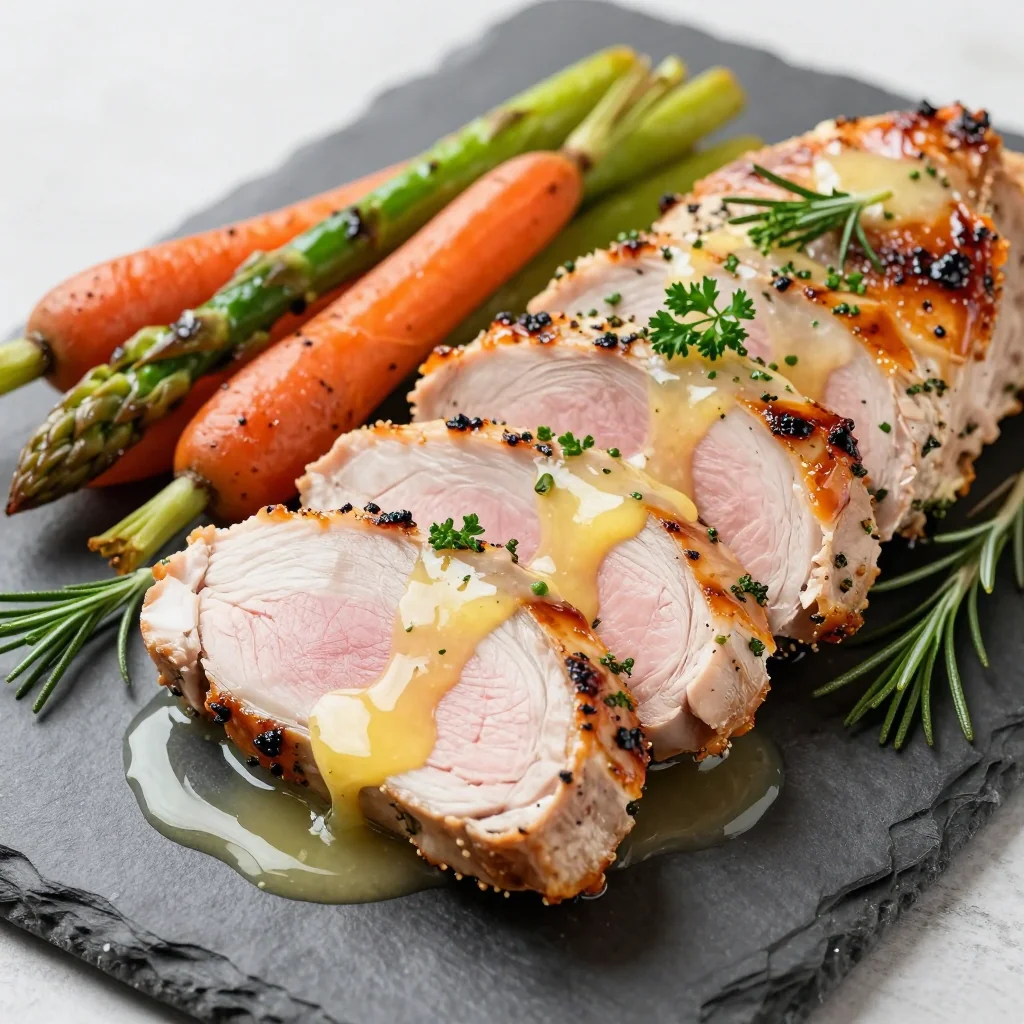
Root Vegetables – The combination of carrots, parsnips, and potatoes creates a perfect balance of sweetness and earthiness. Carrots should be firm and bright orange with no soft spots. Parsnips, often overlooked, add a subtle sweetness that complements the rosemary beautifully – choose smaller ones as they're more tender. For potatoes, I prefer Yukon Golds because they hold their shape well during freezing and reheating, unlike russets which can become grainy.
Tomato Paste and Red Wine – These two ingredients create the umami-rich base that makes this stew special. The tomato paste adds depth and helps thicken the broth naturally, while the red wine provides acidity to balance the richness. Use a wine you'd actually drink – if you wouldn't sip it, don't cook with it. A simple Côtes du Rhône or Cabernet Sauvignon works beautifully here.
How to Make Rosemary Garlic Beef Stew Ideal for Freezing
Prep and Season the Beef
Start by patting your chuck roast completely dry with paper towels – this is crucial for proper browning. Cut the roast into 1.5-inch chunks, removing any large pieces of fat but leaving the small marbling intact. In a large bowl, toss the beef cubes with 2 teaspoons of salt, 1 teaspoon of freshly ground black pepper, and 2 tablespoons of all-purpose flour. The flour helps create a beautiful crust when searing and naturally thickens your stew as it cooks. Let the seasoned beef rest at room temperature for 15 minutes while you prep your vegetables.
Sear for Maximum Flavor
Heat 2 tablespoons of olive oil in a heavy-bottomed Dutch oven over medium-high heat until shimmering. Working in batches to avoid overcrowding (this prevents steaming), sear the beef cubes on all sides until deeply browned, about 3-4 minutes per side. Don't rush this step – the caramelization creates the flavor foundation for your entire stew. Transfer seared beef to a plate and set aside. Deglaze the pot with 1/2 cup of red wine, scraping up all those beautiful browned bits with a wooden spoon.
Build the Aromatic Base
In the same pot, add another tablespoon of olive oil if needed, then sauté 2 diced onions until softened and translucent, about 5 minutes. Add 4 minced garlic cloves and cook for 30 seconds until fragrant. Stir in 2 tablespoons of tomato paste and cook for 2 minutes, stirring constantly, until it darkens to a deep brick red. This caramelization of the tomato paste creates incredible umami depth. Add 2 bay leaves and 1 tablespoon of fresh rosemary leaves (removed from 1 sprig), stirring to combine.
Create the Braising Liquid
Return the seared beef (and any accumulated juices) to the pot. Add 4 cups of beef broth, the remaining wine, 2 tablespoons of Worcestershire sauce, and 1 tablespoon of balsamic vinegar. The acidity from the vinegar helps tenderize the meat during cooking. Add the remaining rosemary sprigs, tucking them between the meat pieces. Bring to a gentle simmer, then reduce heat to low, cover partially, and let it bubble gently for 1.5 hours, stirring occasionally.
Add Vegetables Strategically
After 1.5 hours, add your root vegetables – 4 carrots cut into 1-inch pieces, 2 parsnips similarly cut, and 1.5 pounds of Yukon Gold potatoes quartered. The timing here is crucial: adding them too early makes them mushy, but adding them now ensures they'll be tender but not falling apart after freezing. Continue simmering for another 45 minutes to 1 hour, until the beef is fork-tender and the vegetables are cooked through but still hold their shape.
Final Seasoning and Cooling
Remove the pot from heat and fish out the bay leaves and rosemary stems. Taste and adjust seasoning with salt and pepper – be generous here, as freezing can dull flavors slightly. Let the stew cool for about 30 minutes, then transfer to a large bowl set over an ice bath to cool quickly. This rapid cooling prevents bacterial growth and helps maintain the vegetables' texture. Once cooled to room temperature, you're ready to portion for freezing.
Expert Tips
Freeze in Flat Portions
Ladle cooled stew into heavy-duty freezer bags, squeeze out excess air, and lay flat to freeze. This creates thin, stackable portions that thaw quickly and evenly – perfect for busy weeknights!
Double the Recipe
This stew freezes beautifully for up to 3 months, so always make a double batch. The cooking time is nearly the same, and you'll have meals ready for months of busy days.
Add Liquid When Reheating
Stew thickens when frozen. Add 1/4 cup of beef broth or water per serving when reheating to restore the perfect consistency. Heat gently over medium-low heat.
Thaw Safely
For food safety, thaw frozen stew in the refrigerator overnight. In a pinch, submerge the sealed bag in cold water, changing water every 30 minutes.
Enhance When Serving
Brighten reheated stew with a splash of lemon juice, a handful of fresh parsley, or a dollop of sour cream. These fresh additions make it taste newly made.
Label Everything
Always label your frozen portions with contents, date, and reheating instructions. Trust me, six months from now, you'll thank yourself for this simple step!
Variations to Try
Mediterranean Twist
Add 1 cup of pitted kalamata olives, 2 tablespoons of capers, and substitute white wine for red wine. Stir in fresh oregano and serve with crusty Italian bread.
Freezes WellMushroom Lover's Version
Add 1 pound of mixed mushrooms (cremini, shiitake, oyster) during the last hour of cooking. The mushrooms add incredible umami and create an even heartier stew.
Freezes WellSlow Cooker Adaptation
After searing the beef, transfer everything to a slow cooker. Cook on low for 8-9 hours or high for 4-5 hours. Add vegetables during the last 2 hours of cooking.
Freezer FriendlyGluten-Free Option
Replace the flour with 2 tablespoons of cornstarch mixed with cold water, or simply skip the flour dredging entirely. The stew will be slightly thinner but equally delicious.
Freezes WellStorage Tips
Proper storage is what makes this recipe truly life-changing. Here's everything you need to know about freezing, storing, and reheating your rosemary garlic beef stew:
Freezing Instructions: Cool the stew completely before freezing – this prevents ice crystals from forming and maintains the best texture. Portion into heavy-duty freezer bags or airtight containers, leaving 1 inch of headspace for expansion. For family-sized portions, use gallon-sized bags laid flat to freeze, creating thin, stackable blocks that thaw quickly. For individual servings, use pint-sized containers perfect for lunch portions. Remove as much air as possible to prevent freezer burn, and always label with the contents, date, and reheating instructions.
Refrigerator Storage: If you plan to eat the stew within 3-4 days, store it in an airtight container in the refrigerator. The flavors will actually improve overnight, making this an excellent make-ahead meal for busy weeks. Store the stew in the coldest part of your refrigerator, typically the back of the bottom shelf.
Thawing Methods: For food safety, the best method is to thaw frozen stew in the refrigerator overnight. Place the frozen container in a bowl to catch any condensation. For quicker thawing, submerge the sealed freezer bag in cold water, changing the water every 30 minutes. Never thaw at room temperature, as this can promote bacterial growth. In a pinch, you can reheat directly from frozen – just add extra liquid and stir frequently.
Reheating Perfectly: Whether from thawed or frozen, reheat your stew gently over medium-low heat, stirring occasionally. Add 1/4 cup of beef broth or water per serving to restore the perfect consistency. Bring to a gentle simmer, but avoid boiling vigorously, as this can make the vegetables mushy. The stew is ready when it's heated through and the beef is tender.
Make-Ahead Magic: This stew is actually better when made 1-2 days ahead! The flavors meld together beautifully, and the beef becomes even more tender. Simply prepare the entire recipe, let it cool, and refrigerate. When ready to serve, reheat gently and add a splash of fresh lemon juice or a handful of fresh herbs to brighten the flavors.
Frequently Asked Questions
While chuck roast is ideal for its marbling and connective tissue, you can substitute bottom round or brisket. Avoid lean cuts like sirloin, as they'll become dry and tough. If using brisket, trim most of the fat and expect it to take longer to become tender. The key is choosing a cut with good marbling and connective tissue that breaks down during long cooking.
Freezing can dull flavors, so season generously before freezing. When reheating, taste and adjust seasoning with salt, pepper, or a splash of Worcestershire sauce. A squeeze of lemon juice or fresh herbs added when serving will brighten the flavors. Remember that cold temperatures numb taste buds, so slightly over-season before freezing.
Yes! Replace red wine with an equal amount of beef broth plus 2 tablespoons of balsamic vinegar for acidity. For an alcohol-free version, use grape juice with 1 tablespoon of vinegar. The wine adds complexity, but the stew will still be delicious without it. You can also use non-alcoholic red wine for similar flavor without the alcohol content.
This stew freezes beautifully for up to 3 months when properly stored. For best quality, use within 2 months. After 3 months, it's still safe to eat but may develop off-flavors or freezer burn. Always label your containers with the date and use the oldest portions first. Store at 0°F (-18°C) or below for optimal results.
Overcooking before freezing causes mushy vegetables. Add vegetables during the last 45 minutes of cooking, and cool the stew quickly before freezing. When reheating, avoid vigorous boiling. Use firmer vegetables like Yukon Gold potatoes instead of Russets, and cut vegetables into larger 1-inch pieces to help them hold their shape.
Absolutely! Use the sauté function for searing the beef and aromatics. Then cook on high pressure for 35 minutes with natural release for 10 minutes. Add vegetables and cook on high pressure for 5 more minutes. The stew won't be quite as tender as the slow method, but it's perfect for busy days when you need dinner ready quickly.

Rosemary Garlic Beef Stew Ideal for Freezing
Ingredients
Instructions
- Prep and Season: Pat beef dry, cut into cubes, season with flour, salt, and pepper. Let rest 15 minutes.
- Sear the Beef: Heat 2 tbsp oil in Dutch oven. Sear beef in batches until deeply browned. Set aside.
- Build the Base: Sauté onions in same pot, add garlic, tomato paste, and herbs. Cook 2-3 minutes.
- Deglaze: Add wine, scraping up browned bits. Return beef and juices to pot.
- Add Liquids: Pour in beef broth, Worcestershire sauce, add rosemary and bay leaves. Simmer 1.5 hours.
- Add Vegetables: Add carrots, parsnips, and potatoes. Continue simmering 45-60 minutes until tender.
- Cool and Freeze: Remove herbs, cool completely, portion into freezer containers, and freeze up to 3 months.
- Reheat: Thaw overnight in refrigerator, reheat gently with added broth if needed. Serve hot with crusty bread.
Recipe Notes
This stew actually improves in flavor after freezing! The beef becomes incredibly tender, and the rosemary and garlic infuse throughout. Always cool completely before freezing, and add a splash of broth when reheating to restore the perfect consistency.