I was in the middle of a kitchen catastrophe the night before, watching my humble batch of roasted carrots turn into a soggy, flavorless mess that looked more like a carrot puddle than a dish. The heat was too low, the glaze too thin, and the carrots never got that caramelized sheen that makes people stop and stare. I stared at the pot, feeling the sting of disappointment, and thought, “If I could just tweak this one thing, maybe I could salvage it.” That single tweak became my obsession, my secret weapon, and ultimately the reason why I’m about to drop the most irresistible glazed carrot recipe ever.
Picture this: a skillet that hums like a contented cat, the butter melting into a golden pool, and the carrots, freshly trimmed, sizzling as they hit the pan. The aroma that unfurls—sweet caramel, a hint of sugar, a whisper of pepper—fills the kitchen, making your mouth water before you even taste the first bite. The sound of the carrots lightly popping as they brown is music to any food lover’s ears, a subtle crackle that signals the transformation is underway. By the time the glaze thickens to a glossy coat, the carrots have become a radiant, glossy parade of orange, each one glistening like a tiny sunrise.
Why does this version stand out? Because it’s not just a recipe; it’s a revelation. I’ve experimented with dozens of glaze ratios, but the perfect balance of butter, sugar, and a splash of water creates a sauce that clings to each carrot like velvet, leaving a buttery aftertaste that lingers. The secret is in the timing—adding the butter at just the right moment, letting the sugar caramelize without burning, and finishing with a gentle splash of water to create that silky sheen. And let me tell you, the result is hands down the best version you’ll ever make at home. I dare you to taste this and not go back for seconds.
If you’ve ever struggled with carrots that come out mushy or bland, you’re not alone. I’ve spent countless evenings trying to perfect a side dish that feels both comforting and impressive. The key is simple, but the execution demands attention. Picture yourself pulling this out of the pan, the whole kitchen smelling incredible, and knowing you’ve just served a dish that will be the talk of the dinner table. Stay with me here—this is worth it.
What Makes This Version Stand Out
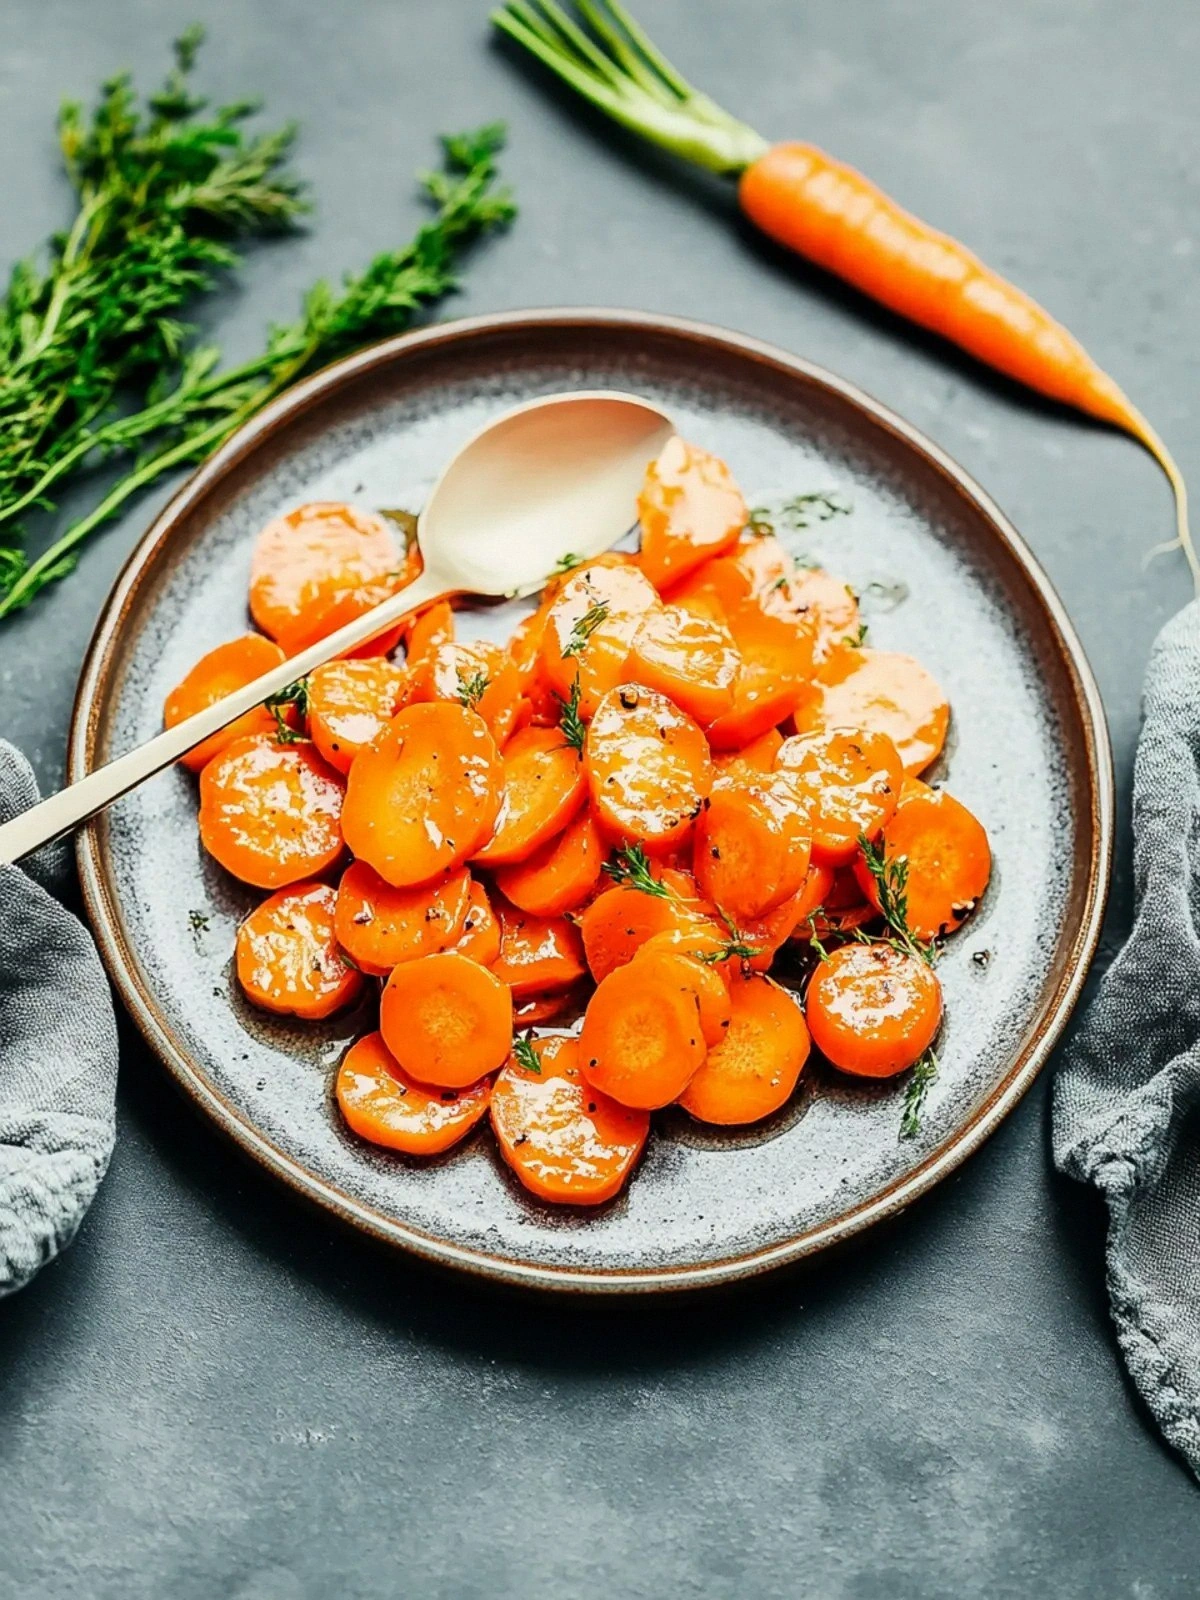
- Flavor: The blend of butter and sugar creates a caramelized glaze that deepens the natural sweetness of the carrots, turning a simple vegetable into a star.
- Texture: Each carrot retains a tender bite while the glaze adds a glossy, slightly sticky finish that doesn’t overwhelm the crunch.
- Simplicity: Six ingredients, one pan, and no fancy equipment—perfect for a quick weeknight or a last‑minute side for guests.
- Uniqueness: The splash of water at the end prevents the glaze from becoming too thick, giving it a silky sheen that feels indulgent.
- Crowd Reaction: Friends keep asking for the recipe after the first plate; it’s the kind of dish that turns a regular dinner into a memorable meal.
- Ingredient Quality: Using fresh, organic carrots and high‑quality butter elevates the dish from ordinary to extraordinary.
- Cooking Method: Sautéing with butter rather than oil gives a richer flavor profile and a more luxurious mouthfeel.
- Make‑Ahead Potential: The glazed carrots hold their flavor for up to three days, making them a perfect prep‑ahead option.
Inside the Ingredient List
The Flavor Base
Butter is the cornerstone of this glaze. Its rich, creamy profile melds with the natural sweetness of carrots, creating a depth that’s impossible to replicate with oil alone. A tablespoon of butter might seem small, but it carries the flavor, turning each bite into a buttery kiss. Skipping butter would leave the dish feeling flat and dry; the result would be a bland carrot that lacks that indulgent sheen.
The Texture Crew
Carrots themselves are the stars of the show. Fresh, medium-sized carrots provide the perfect balance of firmness and bite. When sliced into sticks, they hold their shape while cooking, allowing the glaze to coat them evenly. If you’re using baby carrots, the glaze will set faster, so keep an eye on the timing. Choosing carrots that are firm but not woody ensures a tender yet satisfying crunch.
The Unexpected Star
Sugar is the secret weapon that turns this dish into a caramelized masterpiece. It doesn’t just sweeten; it reacts with the butter to form a glossy, sticky glaze that clings to each carrot. The amount matters—too little and the glaze will be thin; too much and you’ll end up with a syrupy mess. If you prefer a less sweet version, reduce the sugar by a tablespoon, but be prepared for a slightly thinner coating.
The Final Flourish
Water is the unsung hero that gives the glaze its silky texture. Adding a splash at the end of cooking prevents the glaze from becoming too thick or sticky. It also helps the glaze spread evenly across the carrots, creating that beautiful, glossy finish that makes the dish look restaurant‑grade. Without water, the glaze would set hard, making it difficult to spread and leaving the carrots uneven.
Everything's prepped? Good. Let's get into the real action...
The Method — Step by Step
- First, trim the carrot ends and peel them if you prefer a cleaner look. Cut them into uniform sticks about 1/2 inch thick so they cook evenly. This step might seem tedious, but uniform size means every carrot gets that perfect caramelized edge.
- Heat a large skillet over medium‑high heat until it shimmers. Add the butter and let it melt until it foams slightly. The sizzling sound is a clear sign the pan is hot enough—if it’s not, the carrots will steam instead of brown.
- Add the carrot sticks to the pan in a single layer. Let them sit undisturbed for about 2 minutes; this allows a golden crust to form on one side before you flip them. The aroma will start to hint at caramelization, and you’ll know you’re on the right track.
- After the initial sear, stir in the sugar and ground black pepper. The sugar will begin to melt and form a syrupy coating. Stir gently to ensure even distribution without breaking the carrots.
- Add a splash of water—about a quarter cup—to the pan. This might look counterintuitive, but the water creates steam that helps the glaze coat the carrots evenly. Let the mixture simmer for 5 minutes, stirring occasionally.
- Season with salt to taste. The salt enhances the natural sweetness and balances the sugar. Taste a carrot; if it needs a touch more salt, add a pinch—don’t overdo it, or the glaze will become too salty.
- Reduce the heat to medium-low and continue cooking for another 5 minutes, or until the carrots are tender but still hold their shape. The glaze should thicken into a glossy, velvety coating that clings to each carrot.
- Turn off the heat and give the carrots a final stir. They should look like tiny golden jewels, each one coated in a glossy, buttery glaze. Let them rest for a minute before serving so the glaze sets just enough to keep the texture from becoming sticky.
That's it — you did it. But hold on, I've got a few more tricks that'll take this to another level...
Insider Tricks for Flawless Results
The Temperature Rule Nobody Follows
Many cooks assume high heat is always better for caramelization, but the truth is a moderate heat allows the butter to infuse the carrots without scorching the sugar. Start with medium‑high, then drop to medium‑low after adding the sugar. This subtle shift prevents the glaze from hardening into a brittle coating.
Why Your Nose Knows Best
Trust the aroma. When the butter starts to bubble and the sugar begins to sing, you’re in the sweet spot. A faint, caramel scent means the glaze is developing the right depth. If the smell turns sharp, you’re nearing burn—dial back the heat immediately.
The 5-Minute Rest That Changes Everything
After cooking, let the glazed carrots sit off the heat for five minutes. This pause allows the glaze to settle and the carrots to finish cooking through residual heat. The result is a silky coating that doesn’t cling too hard, giving each bite a perfect balance of crunch and softness.
The Pepper Twist
Ground black pepper might seem like a minor detail, but it cuts through the sweetness and adds a subtle heat that elevates the flavor profile. Sprinkle it lightly after adding the sugar; it will bloom and release a gentle warmth that complements the caramel.
The Quick Water Splash
Adding a splash of water might sound counterintuitive, but it actually prevents the glaze from becoming too thick. The steam created helps the glaze coat each carrot evenly, giving that glossy sheen that’s essential for the dish’s visual appeal.
Creative Twists and Variations
This recipe is a playground. Here are some of my favorite ways to switch things up:
Maple‑Infused Carrots
Swap the sugar for an equal amount of pure maple syrup. The maple adds a deep, woody sweetness that pairs beautifully with the butter, creating a glaze reminiscent of fall harvest.
Spicy Sriracha Glaze
Add a teaspoon of sriracha to the glaze for a spicy kick. The heat contrasts the caramelized sweetness, making the dish a bold accompaniment to grilled meats.
Herb‑Laced Carrots
Stir in a tablespoon of fresh thyme or rosemary before the final simmer. The herbs infuse the glaze with aromatic depth, turning the dish into a fragrant, herb‑rich side.
Honey‑Garlic Glaze
Replace the butter with olive oil, and mix in a tablespoon of honey and a clove of minced garlic. This combination gives the carrots a savory, slightly sweet glaze that’s perfect for a Mediterranean twist.
Coconut‑Caramel Carrots
Use coconut milk instead of water and add a pinch of nutmeg. The coconut adds a tropical richness, while the nutmeg gives a warm spice that feels like a cozy winter treat.
Storing and Bringing It Back to Life
Fridge Storage
Cool the glazed carrots to room temperature, then transfer them to an airtight container. Store in the refrigerator for up to three days. The glaze will thicken slightly, so let them sit at room temperature for a few minutes before serving.
Freezer Friendly
For longer storage, freeze the glazed carrots in a single layer on a baking sheet, then transfer to a freezer bag. They’ll keep for up to two months. Reheat gently in a skillet or microwave, adding a splash of water to restore moisture.
Best Reheating Method
To reheat, place the carrots in a skillet over low heat, add a teaspoon of water, and cover. Stir occasionally until heated through. The water helps revive the glaze’s silky texture without making the carrots soggy.